

 Windows 11
 Windows 10
 Windows 8
 Windows 7
 Windows XP
 Microsoft 365
 Office 2019
 Office 2013
 Project 2021
 Project 2019
 Project 2016
 Visio 2021
 Visio 2019
 Visio 2016
 Server 2008
 SQL Server
 Avast
Avast Utility & Tools
 PDF Editor
 CAD & 3D, 2D
 Graphics/Drawing
How do I install and activate RDS CALs for Windows Server 2022?
Remote Desktop Services (RDS) in Windows Server 2022 enables users to connect remotely to a centralized server and use applications or full desktops. To legally allow these connections, you need to install and activate Remote Desktop Services Client Access Licenses (RDS CALs).
This guide walks you through the entire process step-by-step.
Before you begin:
- Ensure you have a valid Windows Server 2022 installation.
- Have the necessary RDS CALs license information (Retail, Open License, Volume License, etc.).
- You should be logged in with Administrator privileges.
- Your server should be connected to the internet (for automatic activation).
Contents
Remote Desktop Licensing role installation.
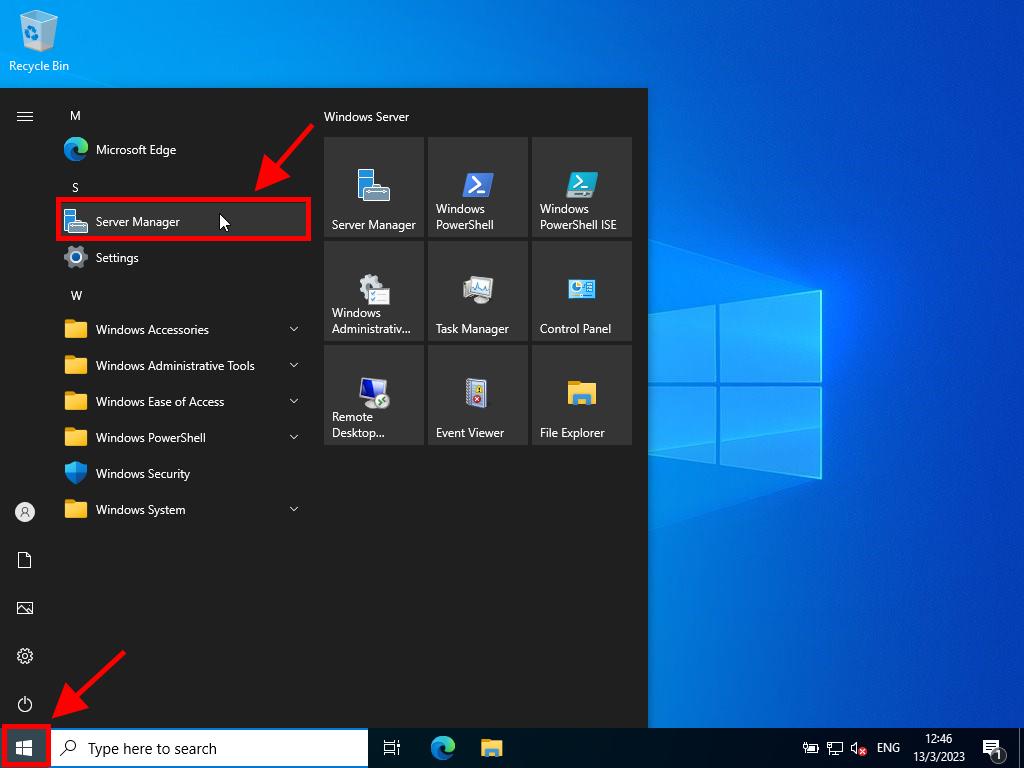
- Open the Server Manager. To do this, click on Windows and then Server Manager.
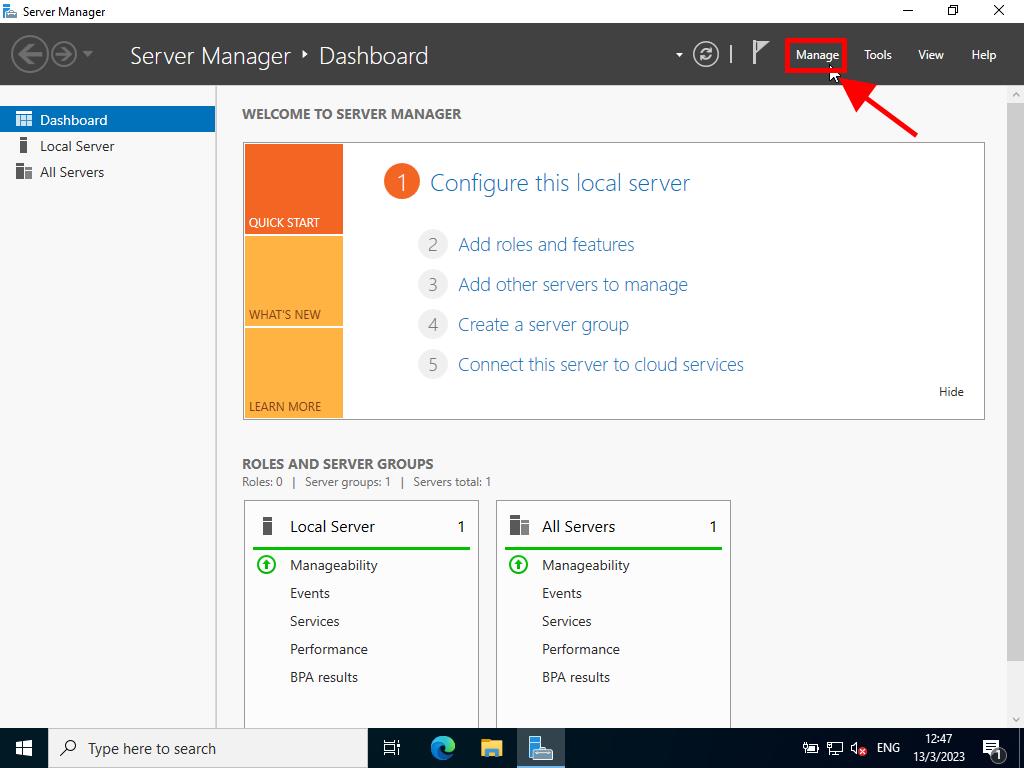
Click Manage.
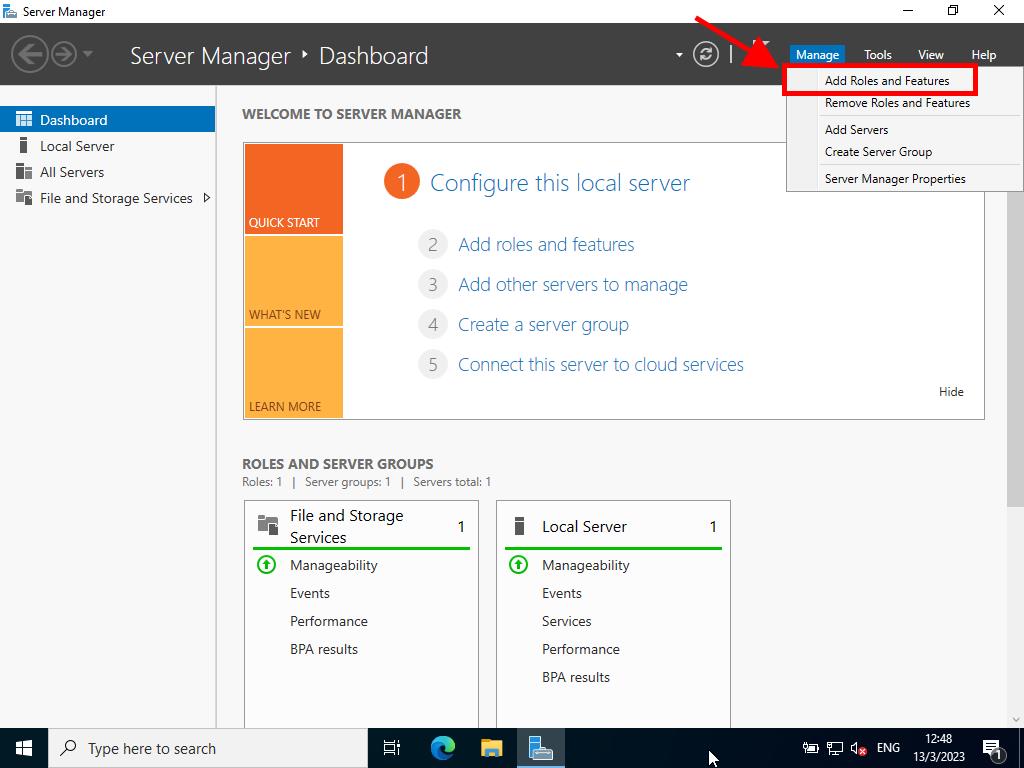
Then click on Add Roles and Features.
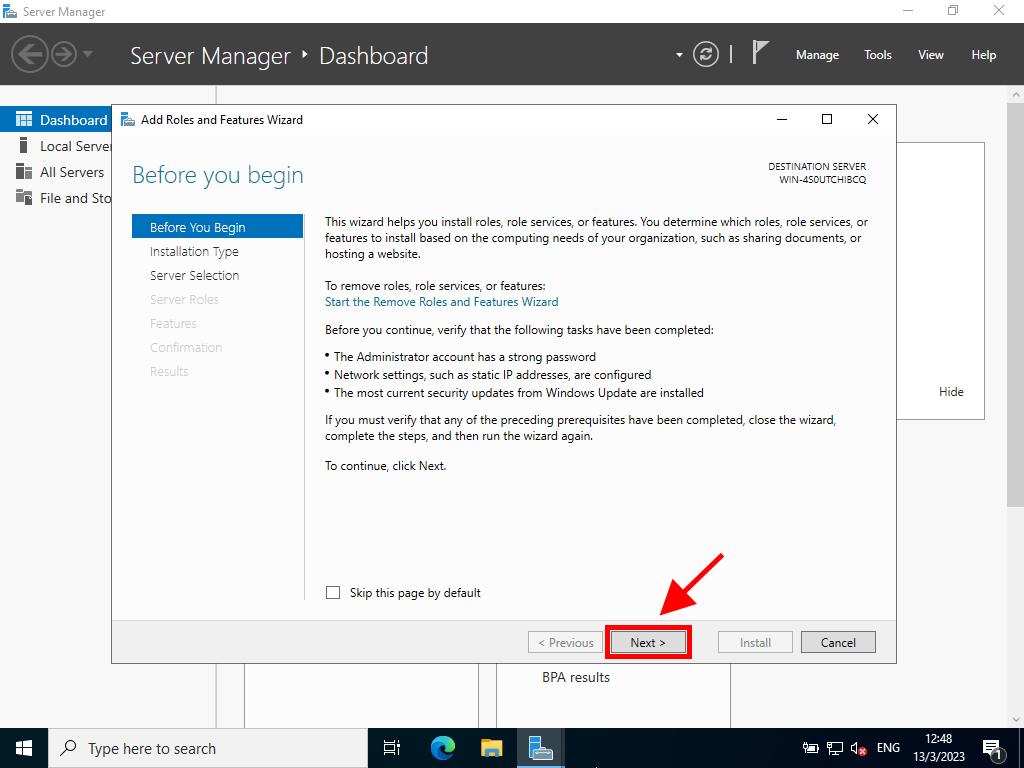
Now, in the Add Roles and Features Wizard, click Next.
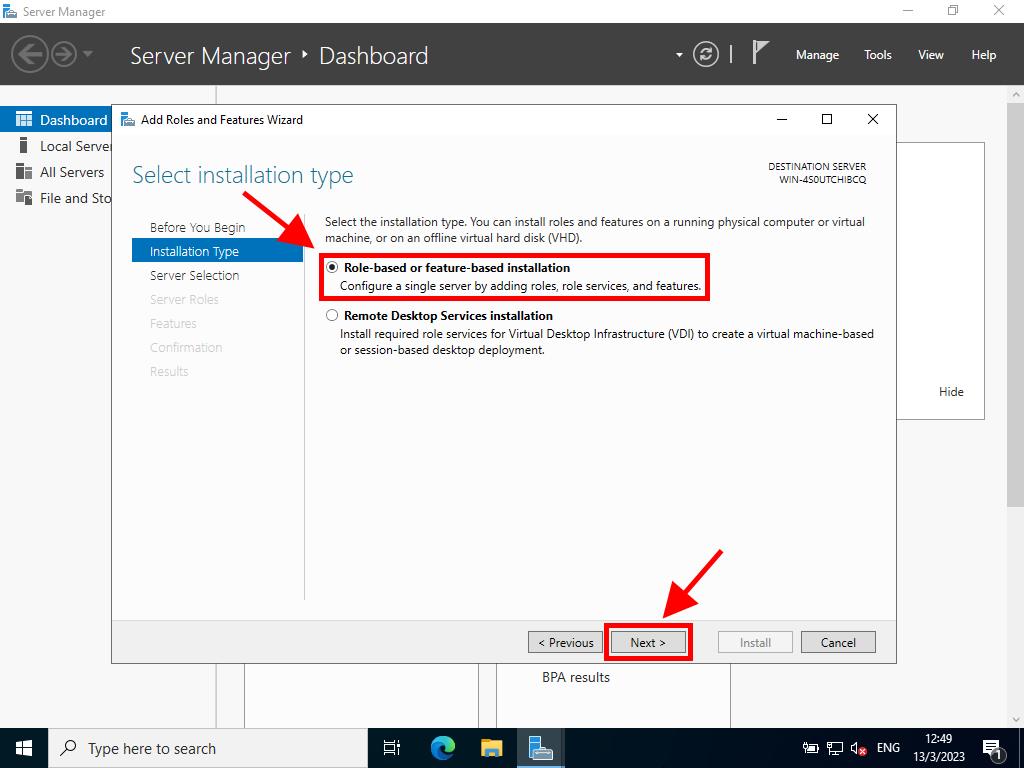
Choose Role-based or feature-based installation and click Next.
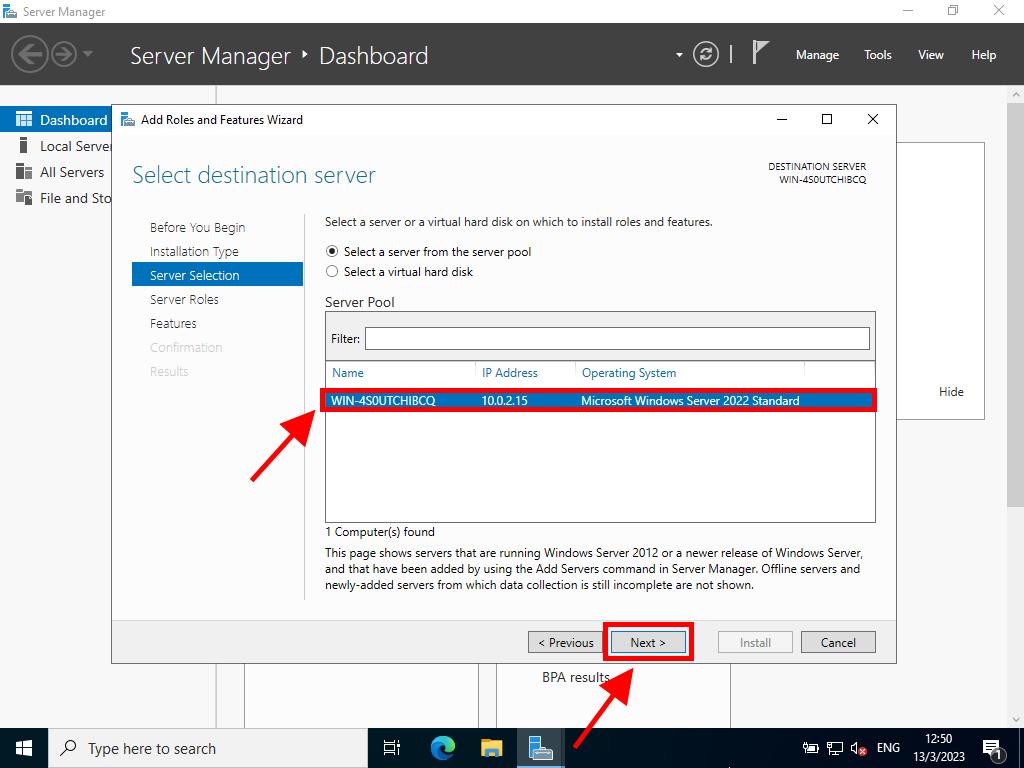
Now, select the server that will install the roles and click Next.
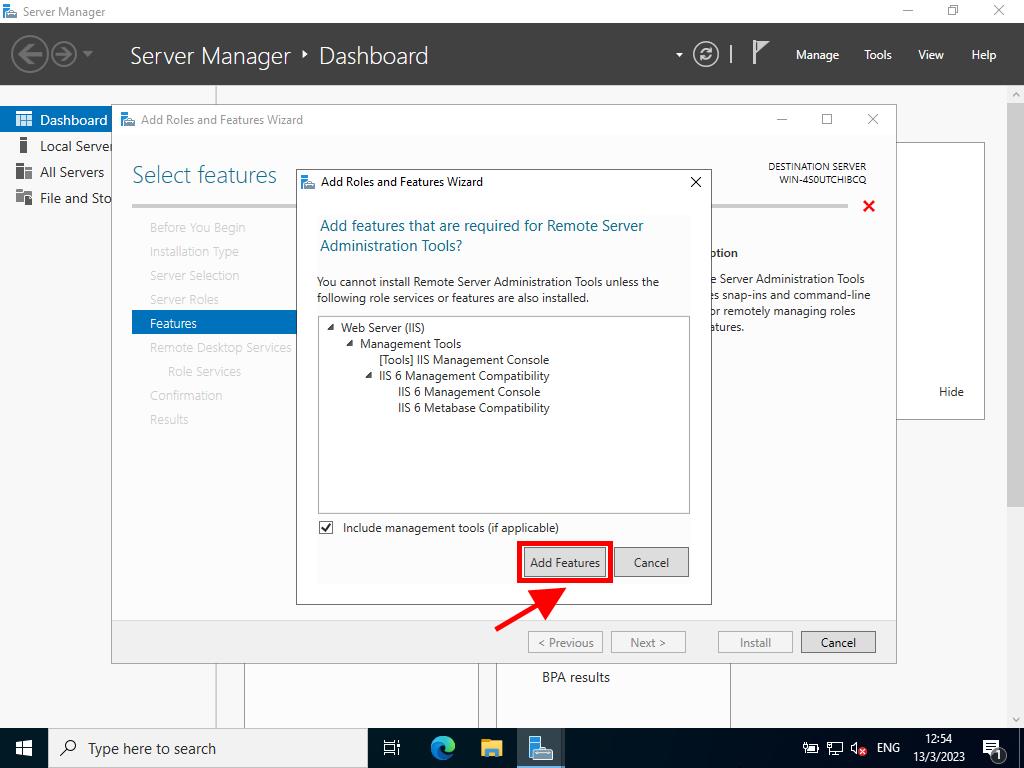
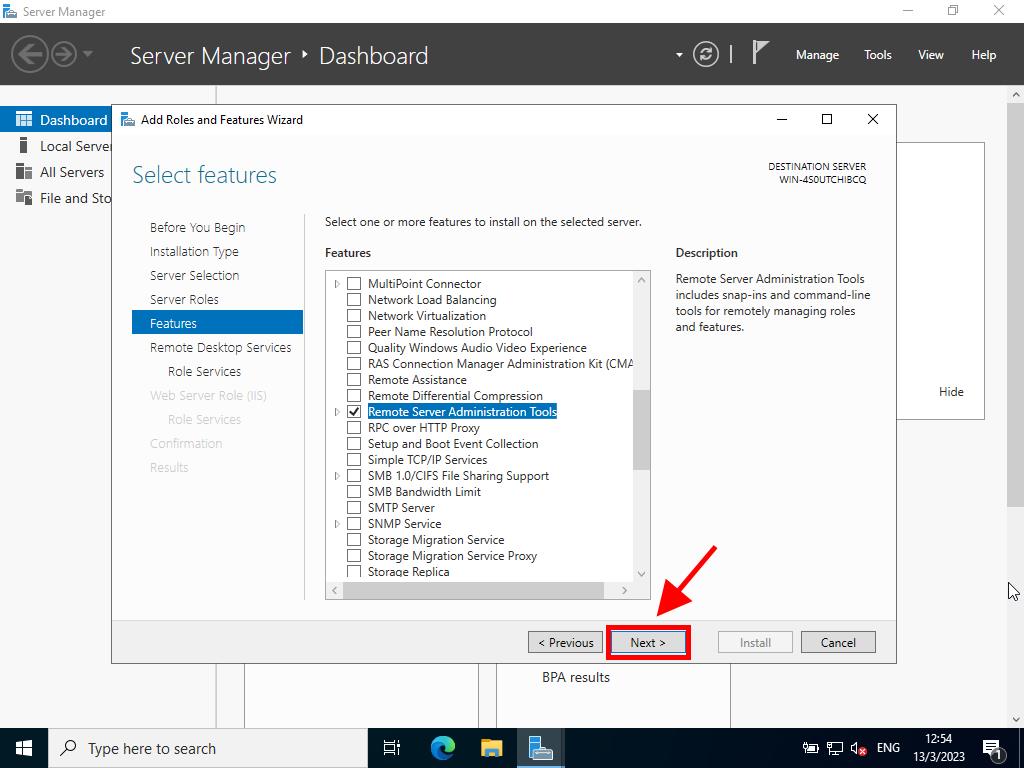
On the Select features page, tick the Remote Server Administration Tools box.
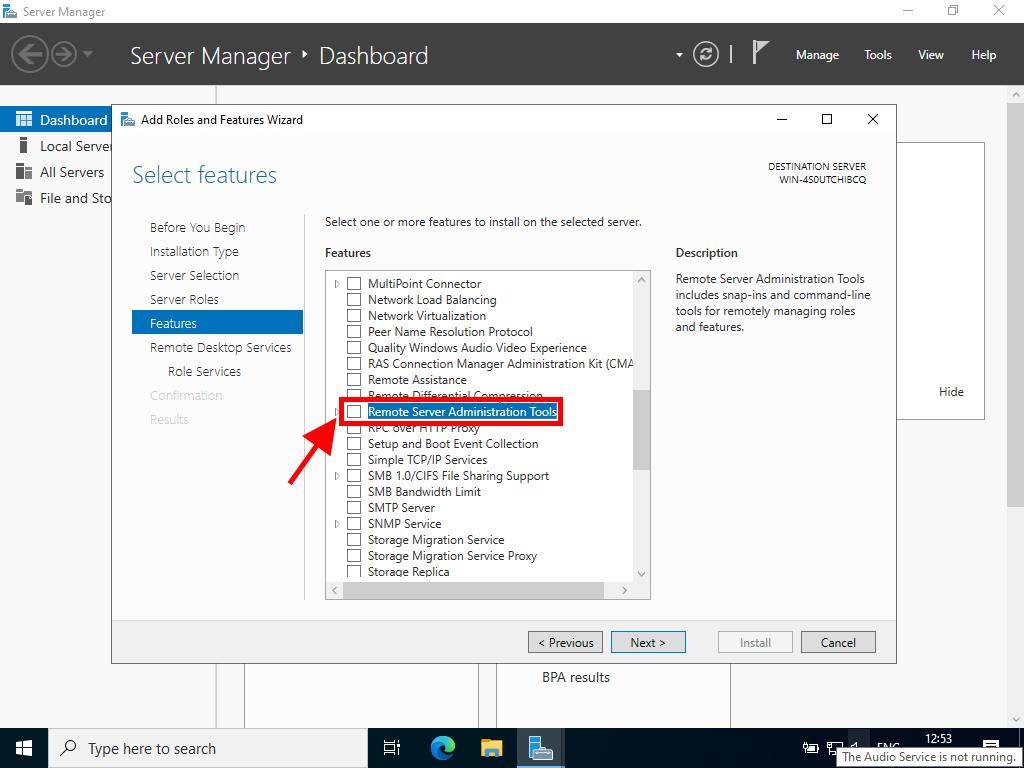
After ticking the box, click Add Features.
Then click Next.
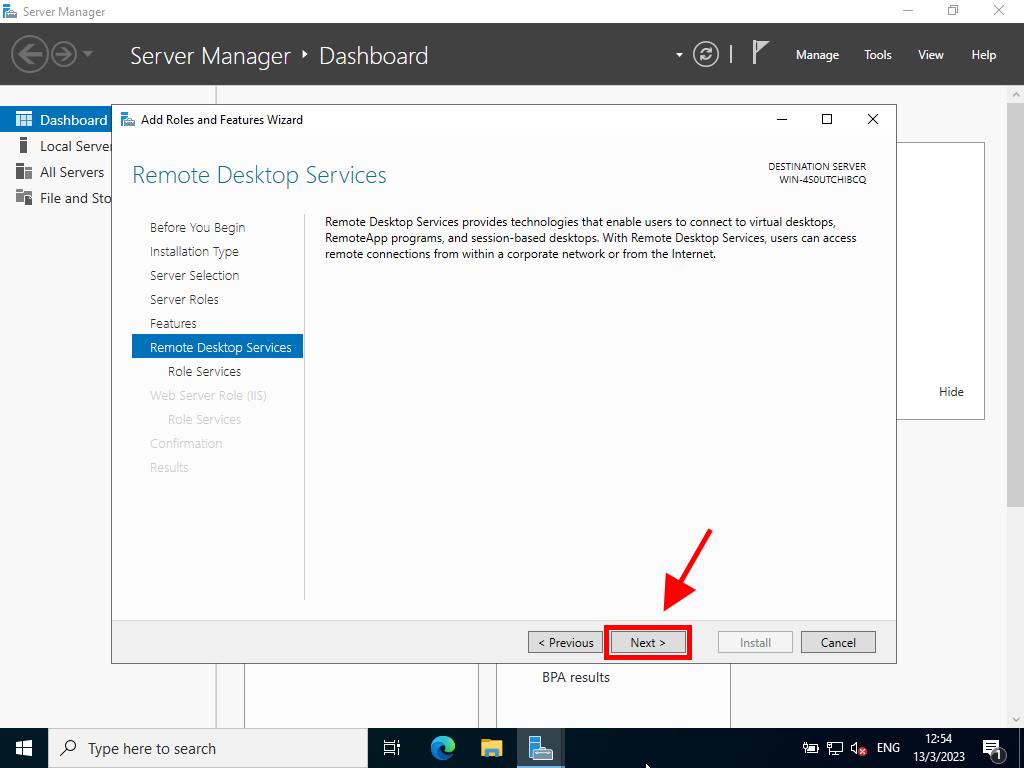
Click Next.
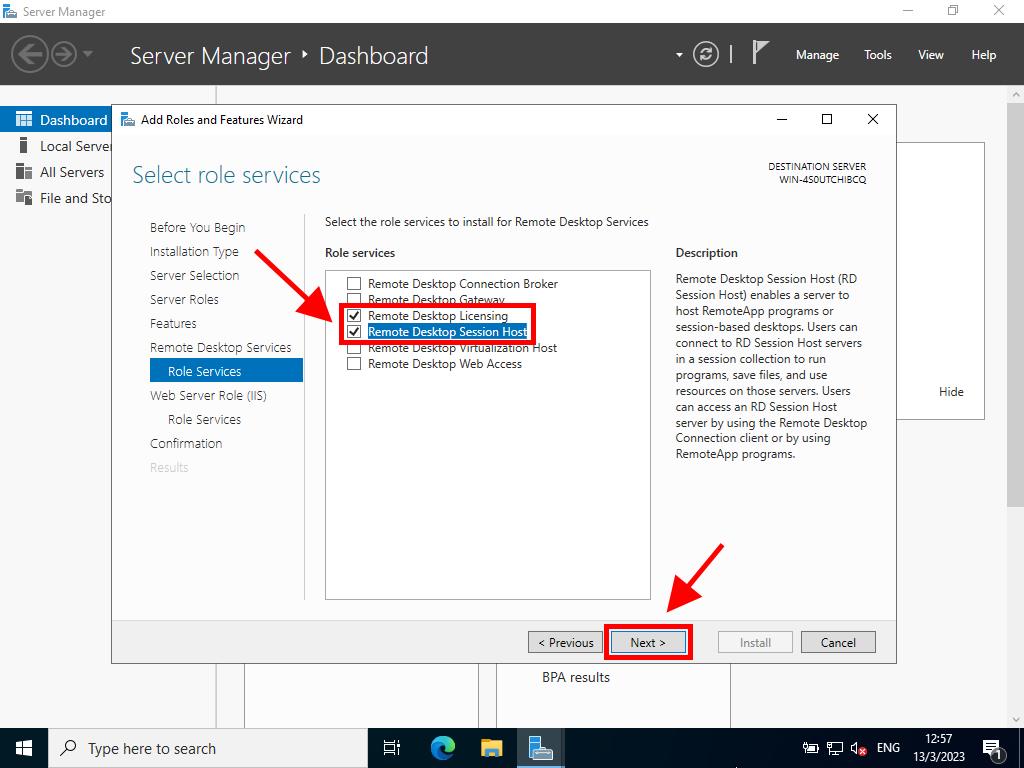
In the following box, tick the boxes for Remote Desktop Licensing and Remote Desktop Session Host and click Next.
In the next step, for the web server role, click Next.
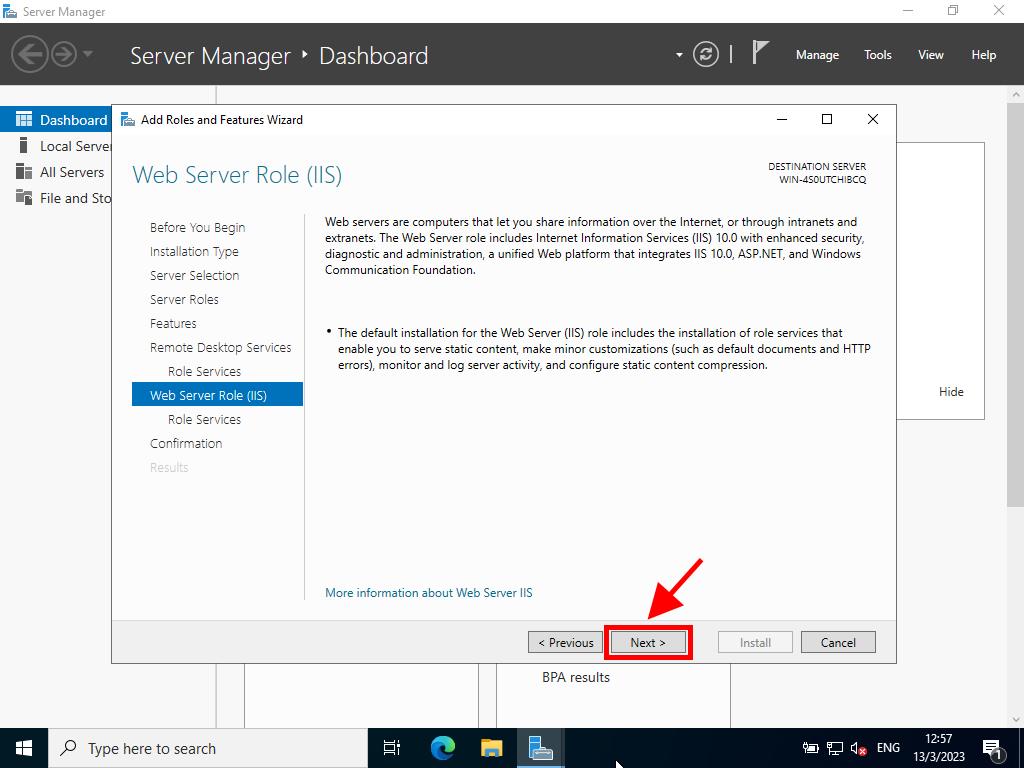
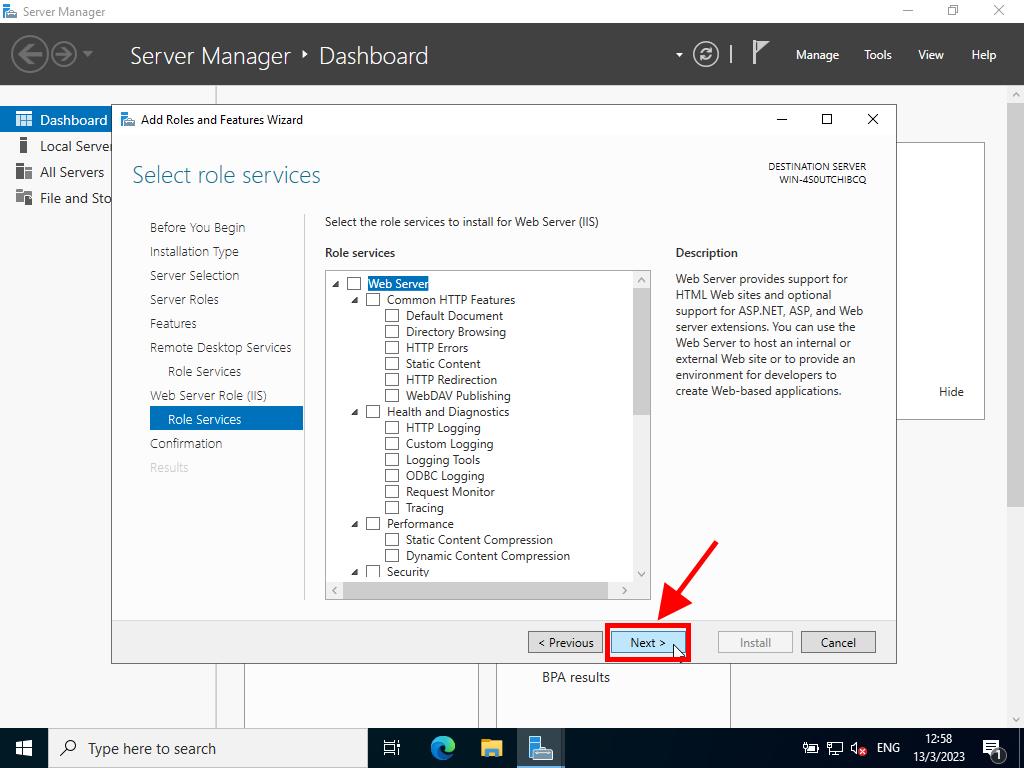
In the Select role services option, click Next.
In the following image, click Install and wait for the roles to install. Restart the server if prompted.
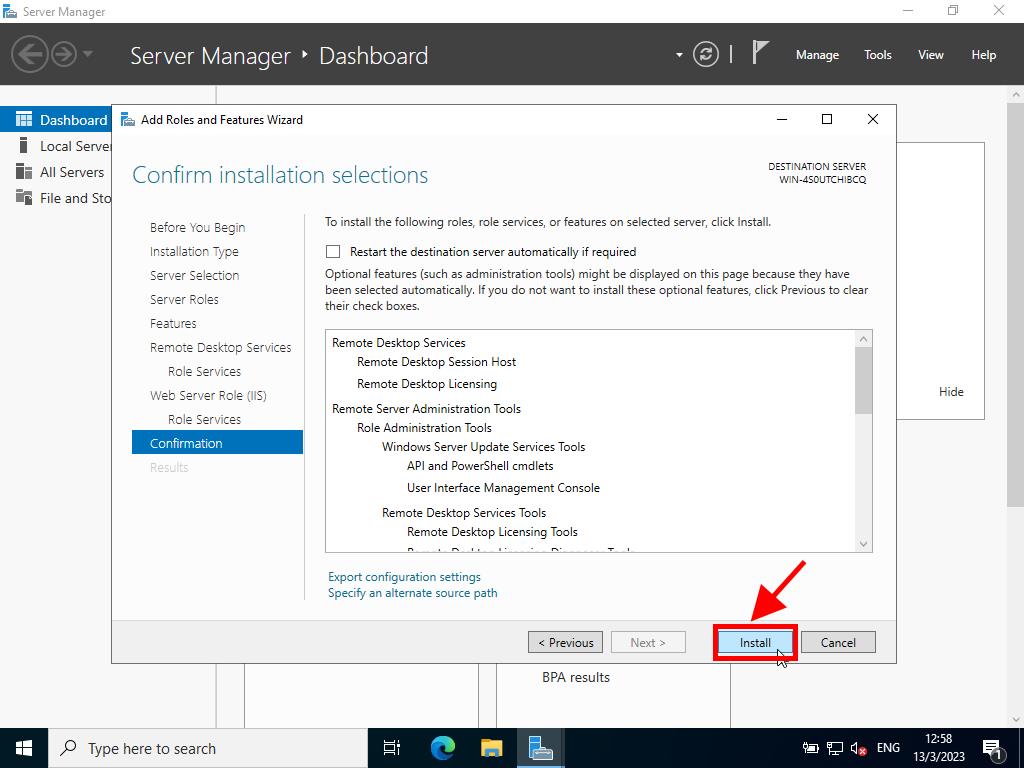
In the following image, click Install and wait for the roles to install. Restart the server if prompted.
Licensing server activation
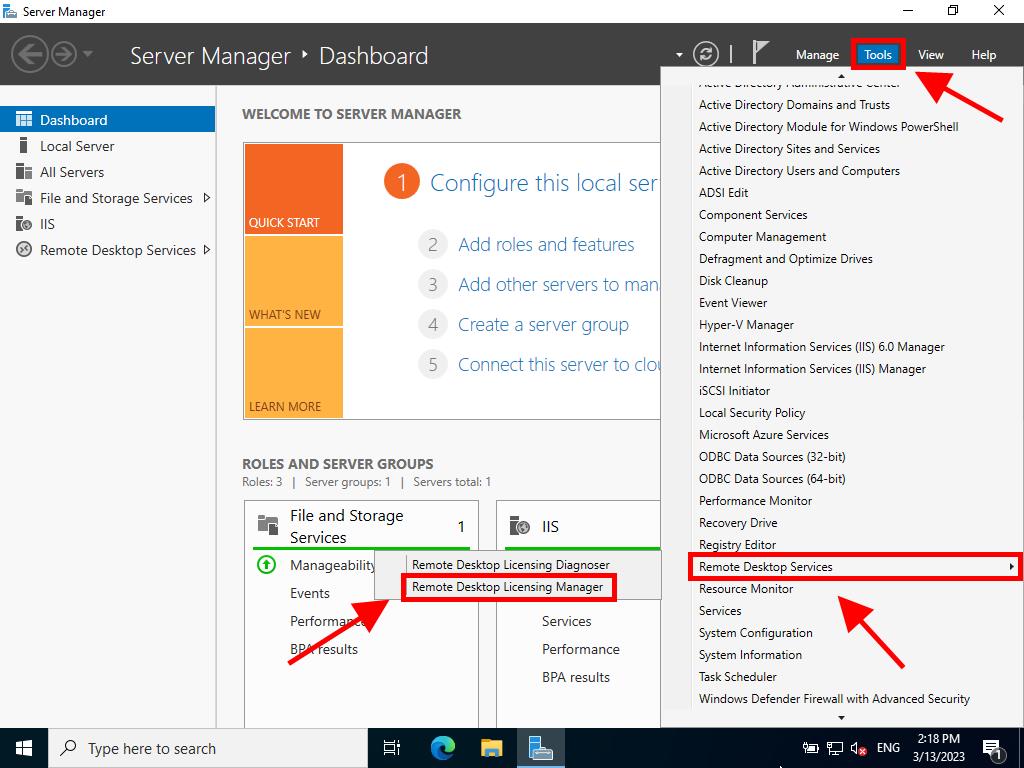
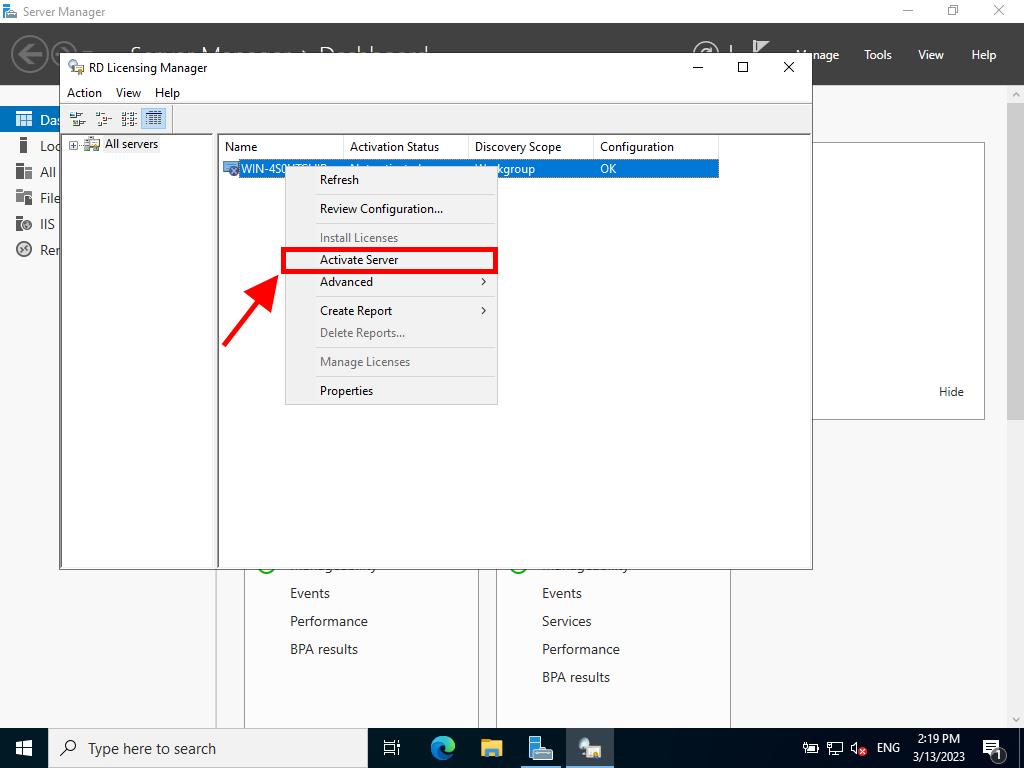
In the top right, select Tools, then select Remote Desktop Services and click on Remote Desktop Licensing Manager.
Then, right-click on the server and select Activate Server.
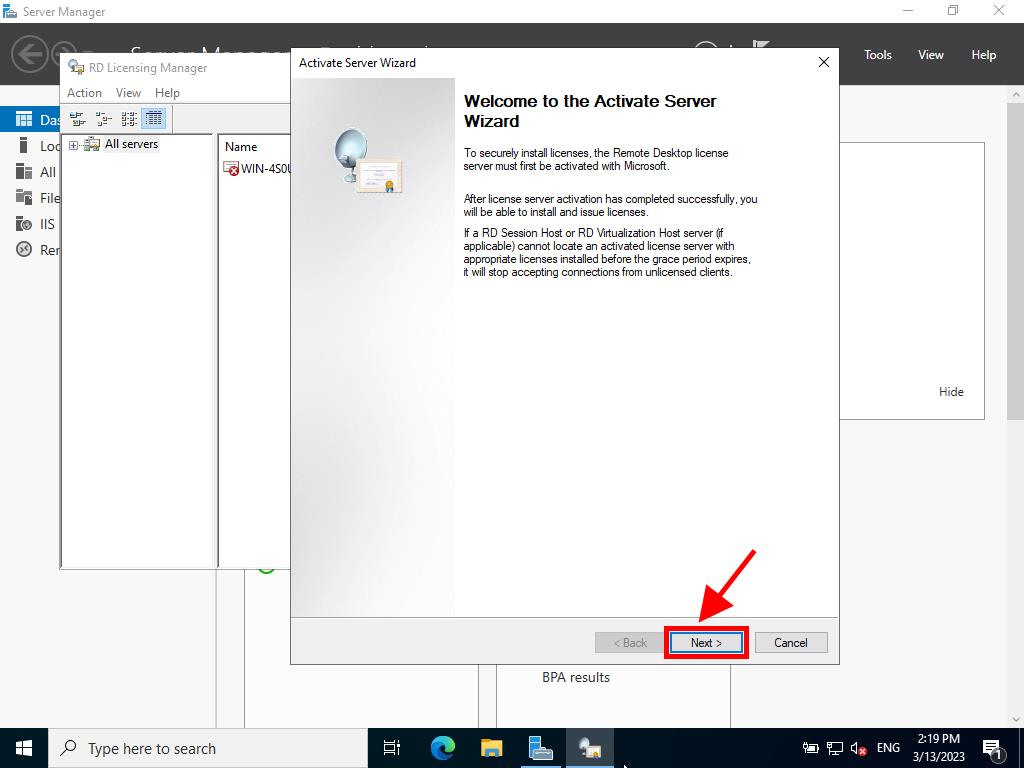
The server activation wizard will appear. Click Next.
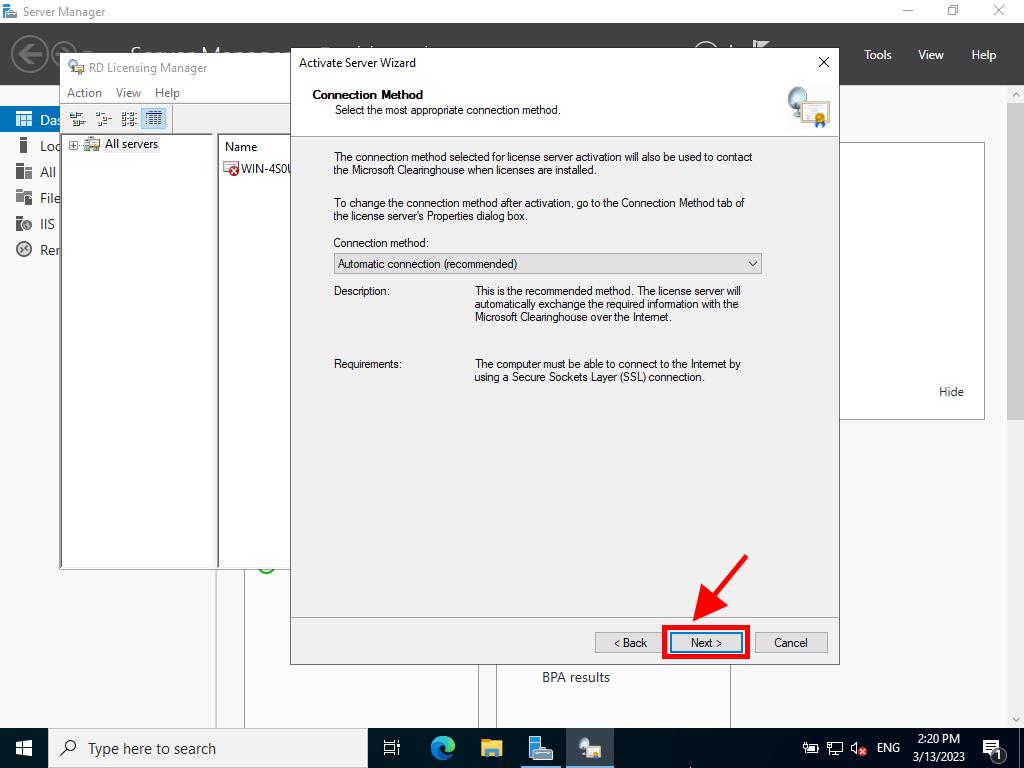
Select the automatic connection method and click Next.
Enter the requested details (first name, last name, region, and company name). Click Next.
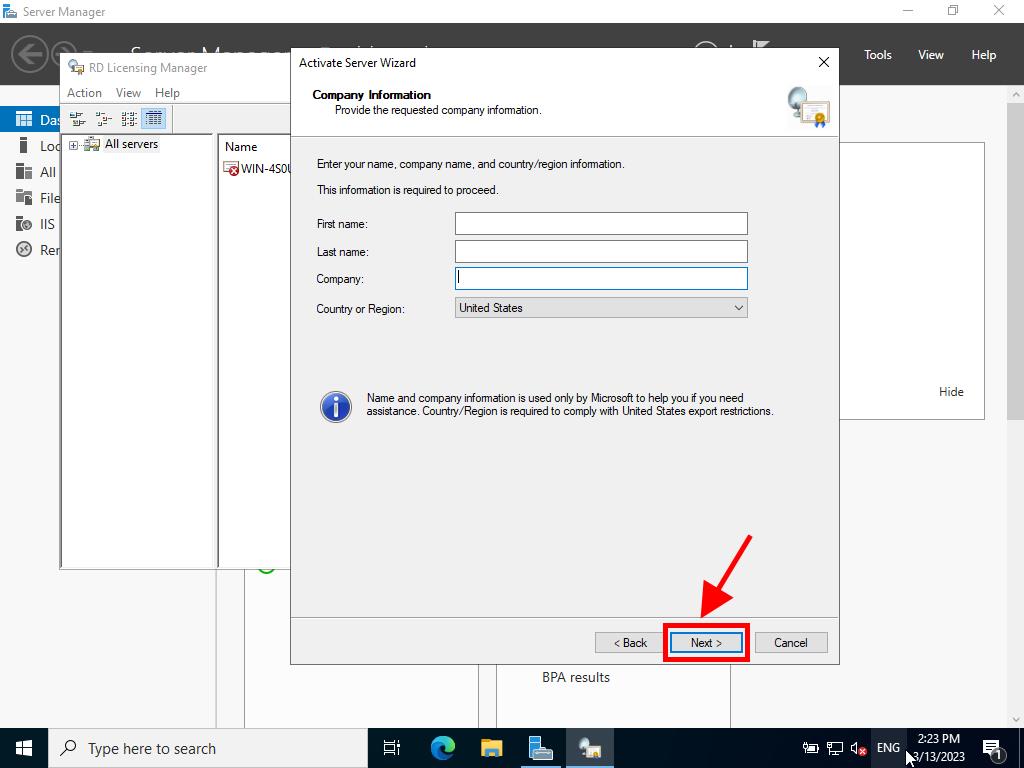
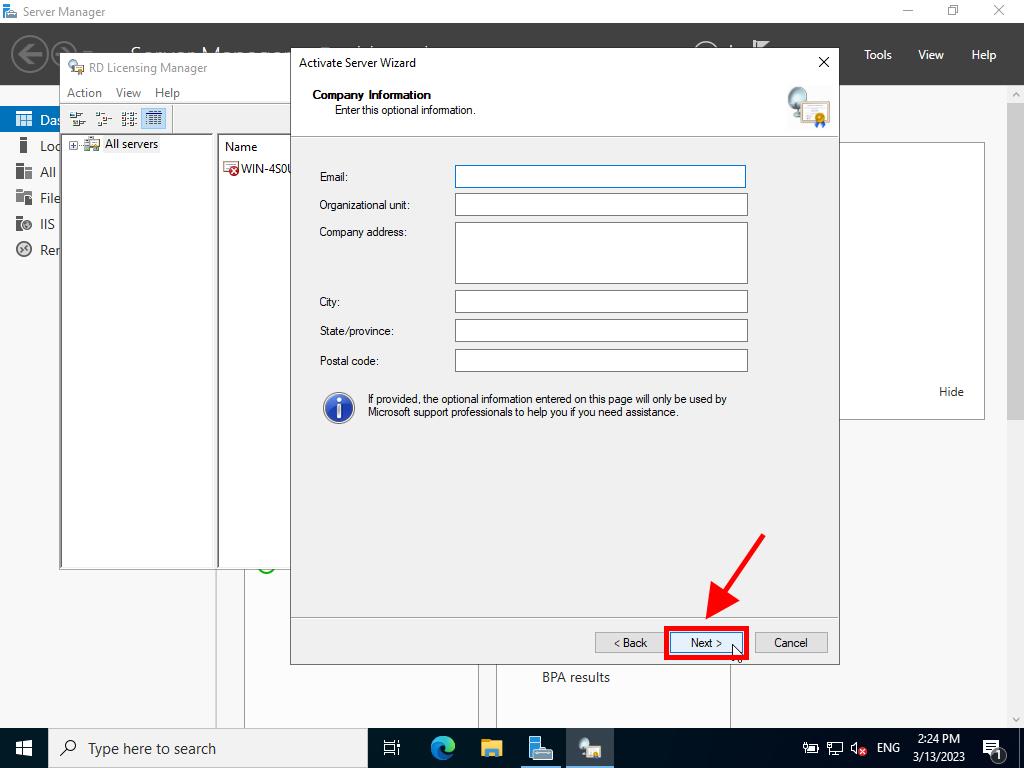
Enter the company information and click Next.
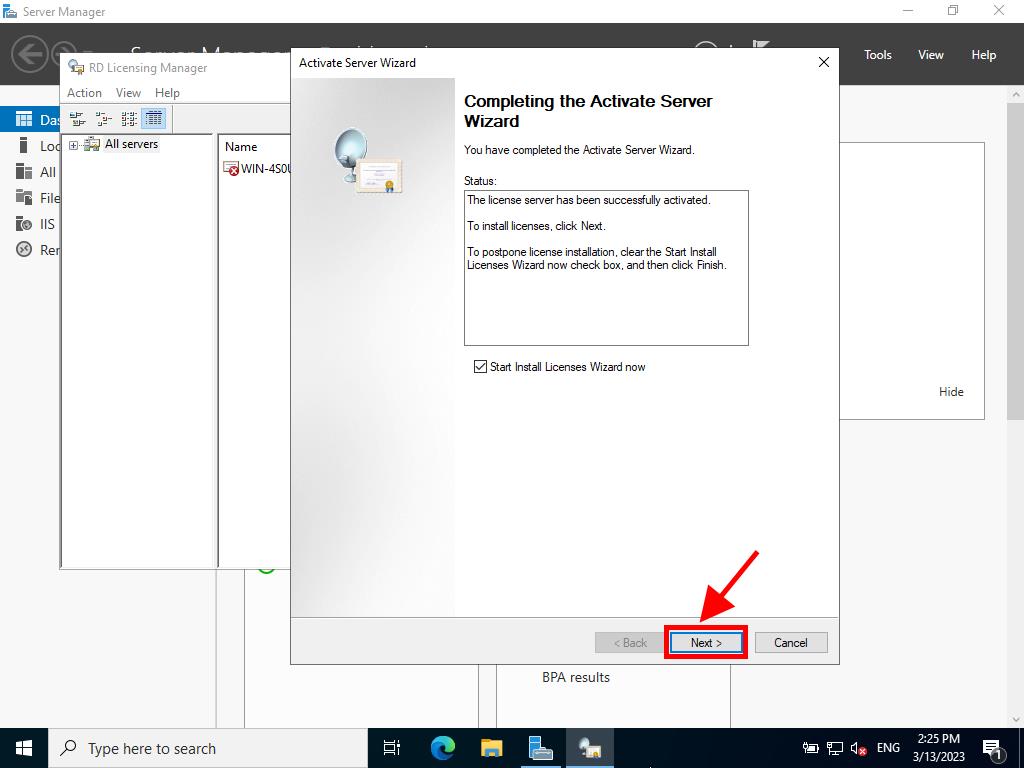
You have completed the licensing server activation. Now you will start installing the licences. Click Next.
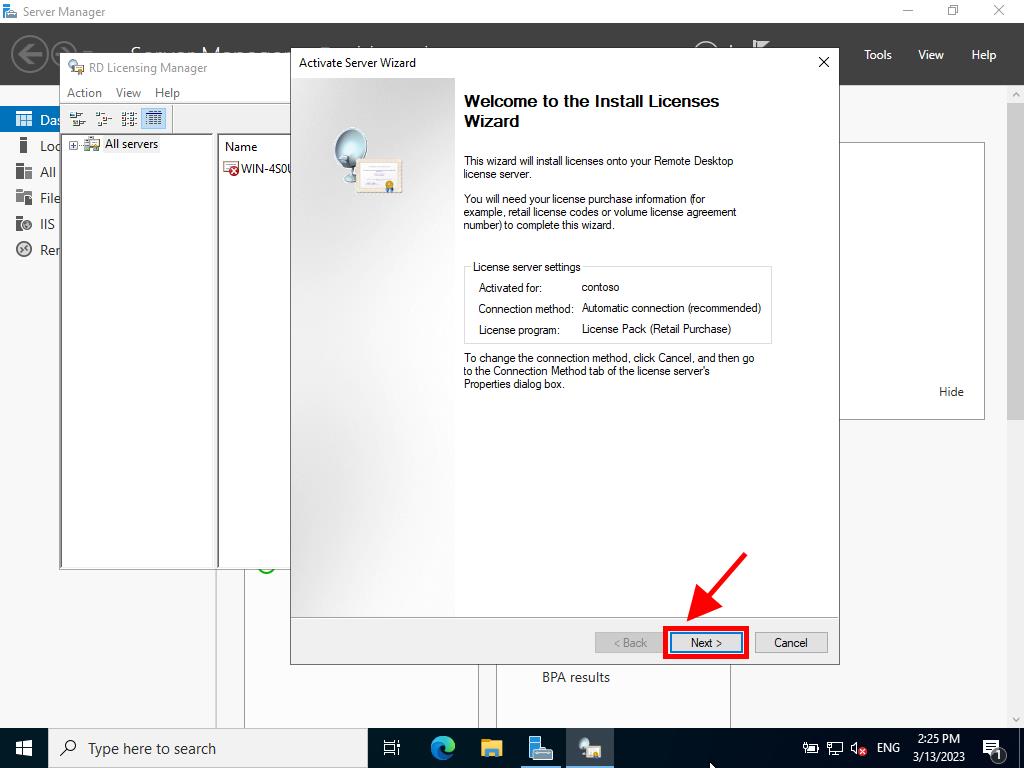
You will receive a reminder of how your server is configured. Click Next.
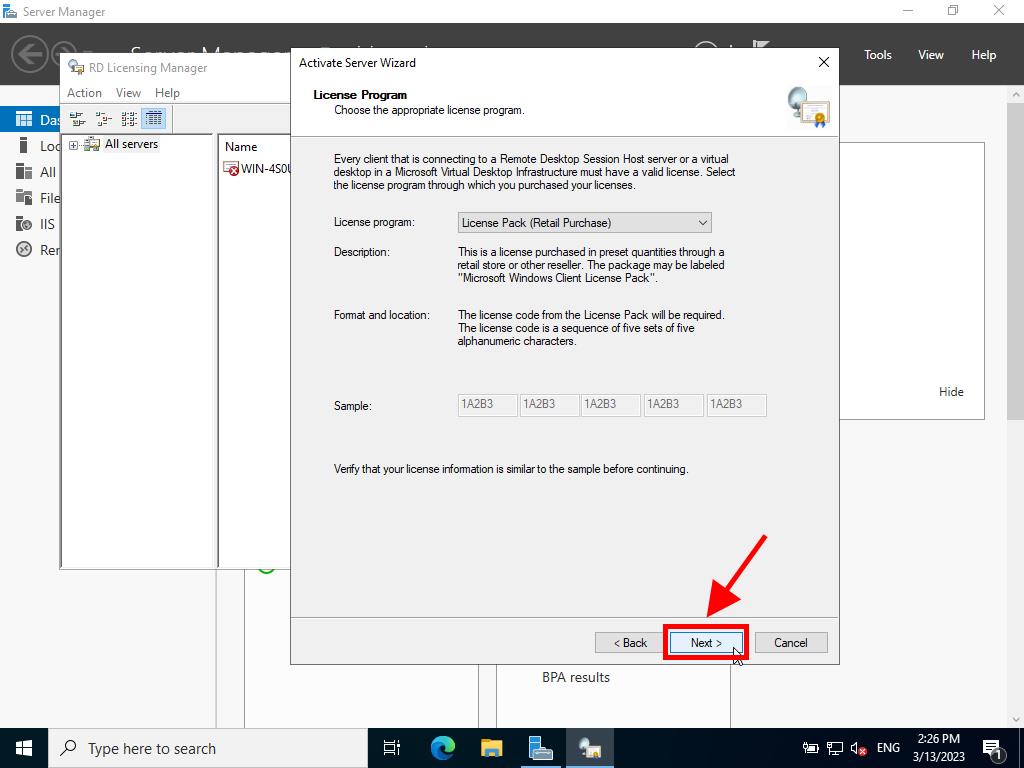
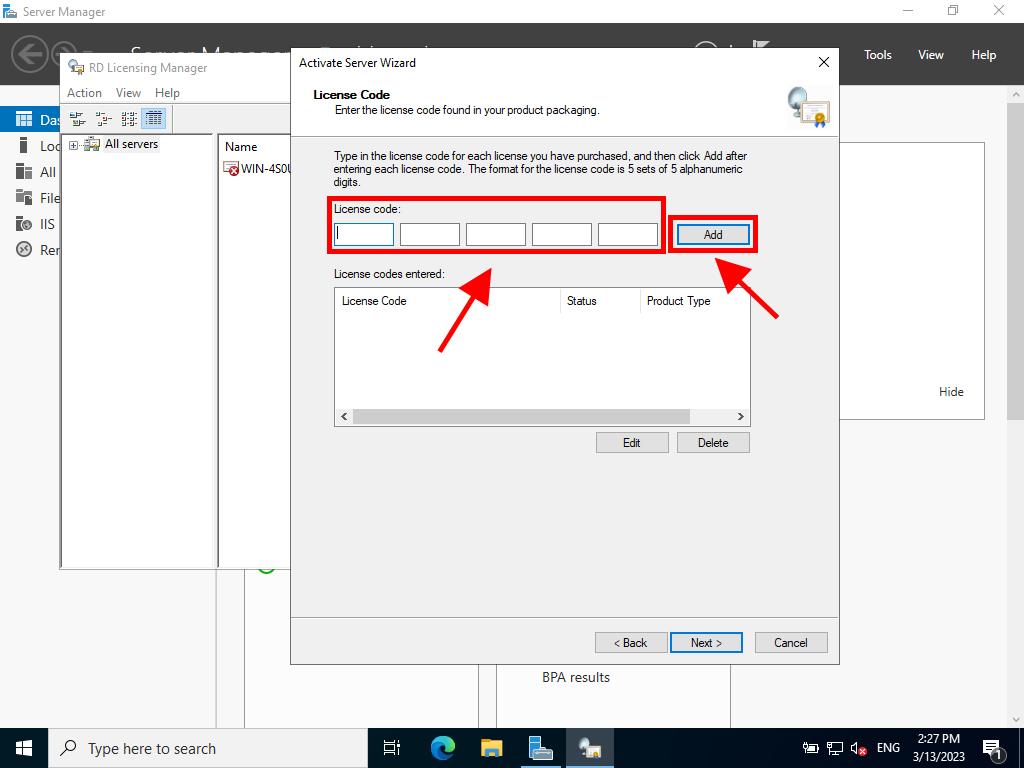
Then, in the License Program, select Packaged Lic. (Retail or Prod. Pack). Click Next.
Next, enter the product key for your RDS CALs and click Add.
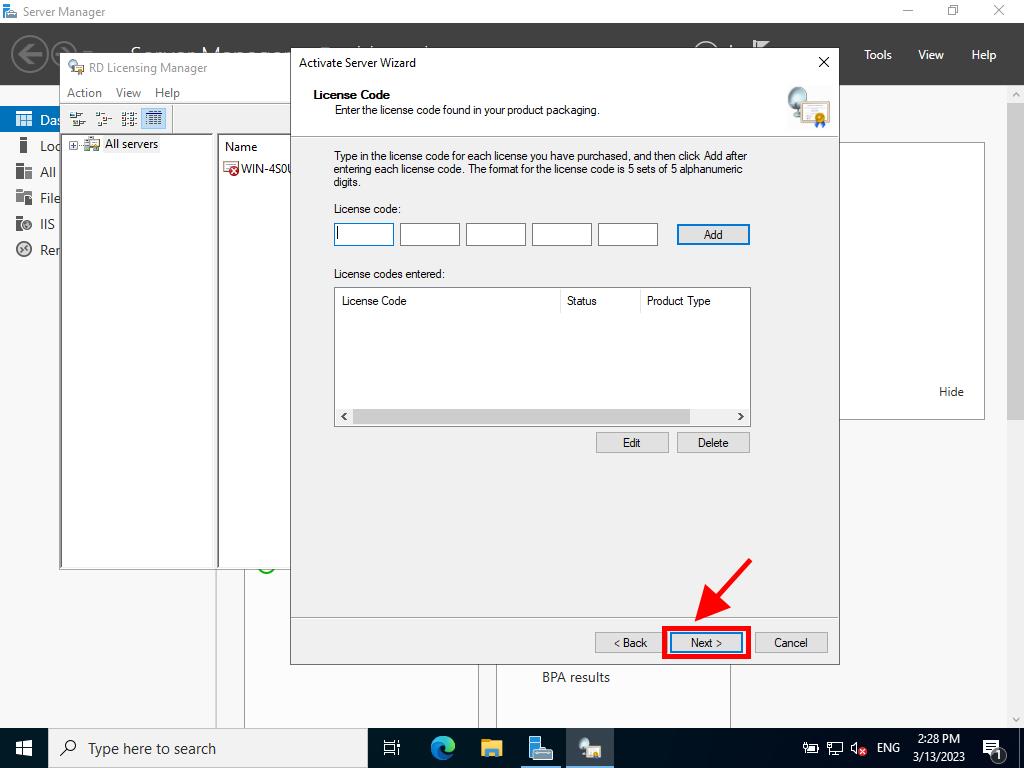
After the licence is recognised, click Next.
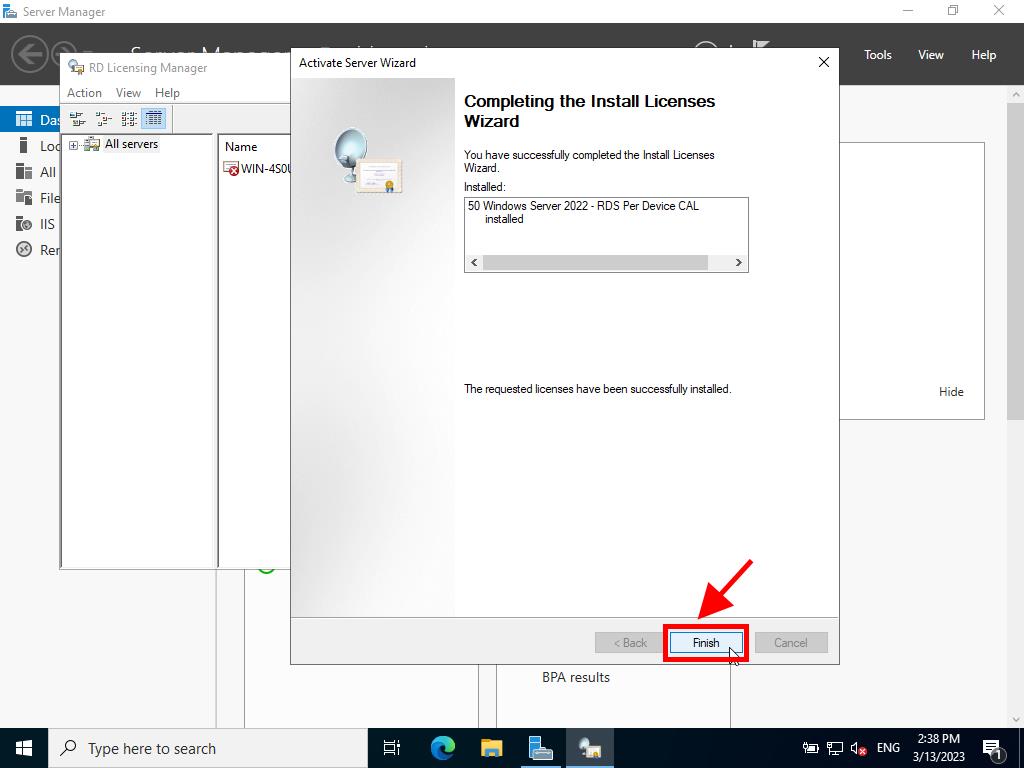
At this point, the Licence Installation Wizard will confirm that it was installed correctly. Click Finish.
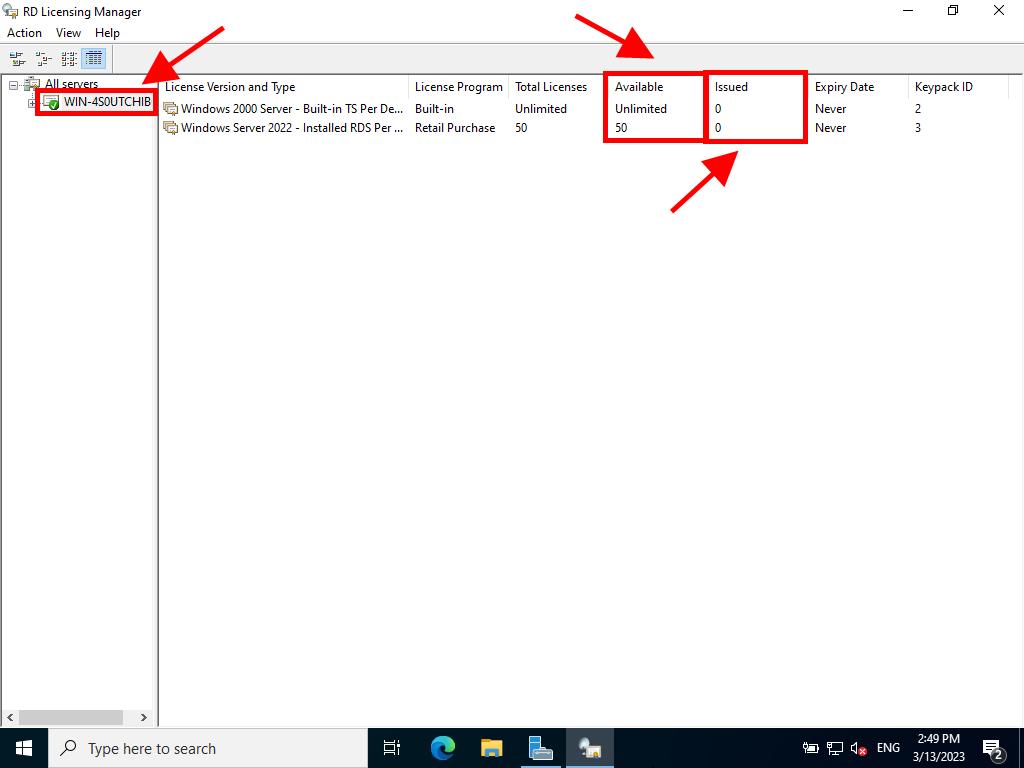
Now your licensing server is ready to start issuing and managing licences. You can check this by selecting your server’s name, where you will see the available licences and those that have been issued. In this case, it should be zero.
📌 Notes
Per User CALs are not actively tracked by the RD License Server in on-premise deployments. You need to ensure compliance manually.
Per Device CALs are tracked and issued automatically.
Always maintain documentation of your license purchases for auditing purposes.
🆘 Troubleshooting Tips
- No CALs being issued? Make sure the Session Host knows which licensing server to use and that the correct mode is selected.
- License server not activating? Try switching to Web Browser or Phone activation methods.
- RD Licensing Diagnoser shows errors? Double-check group policies and service configurations.
 Microsoft 365
 Office 2021
 Office 2019
 Office 2013
 Server
