Knowledgebase
Download Windows 11 ISO Files (64-bit and ARM Official Links)
Microsoft has officially released Windows 11, a new era for computers, as they claim. Like Windows 10, Windows 11 ISO files are also available for download for free from Microsoft. You can clean install Windows 11 or upgrade from Windows 10.
You can install Windows 11 on your computer in many ways. However, there are certain prerequisites that must be met before Windows 11 can be successfully installed. The system hardware should meet certain minimum requirements before Windows 11 can be installed on your device.
See if your PC meets Windows 11 minimum system requirements
This page will guide you to download Windows 11 ISO files using different methods, create a bootable USB drive and install Windows 11.
Contents
Download Windows 11 ISO
| Windows 11 Home / Professional / Education / Pro for Workstation | 24H2 [Eng] X64 | Download |
| Windows 11 Home / Professional / Education / Pro for Workstation | 24H2 [Eng] ARM | Download |
| Windows 11 Home / Professional / Education / Pro for Workstation | 23H2 [Eng] x64 | Download |
| Windows 11 Home / Professional / Education / Pro for Workstation | 22H2 [Eng] x64 | Download |
These ISO files include the following editions of Windows 11:
- Windows 11 Home
- Windows 11 Home N
- Windows 11 Home Single Language
- Windows 11 Education
- Windows 11 Education N
- Windows 11 Pro
- Windows 11 Pro Education
You will have the option to select the edition during the installation phase.
Download Windows 11 ISO directly from Microsoft
You can also download Windows 11 ISO files directly from Microsoft’s website, with even more language options.
Here is how you can download Windows 11 ISO from Microsoft.
Note: This method will automatically download the latest version of Windows 11 available at this time.
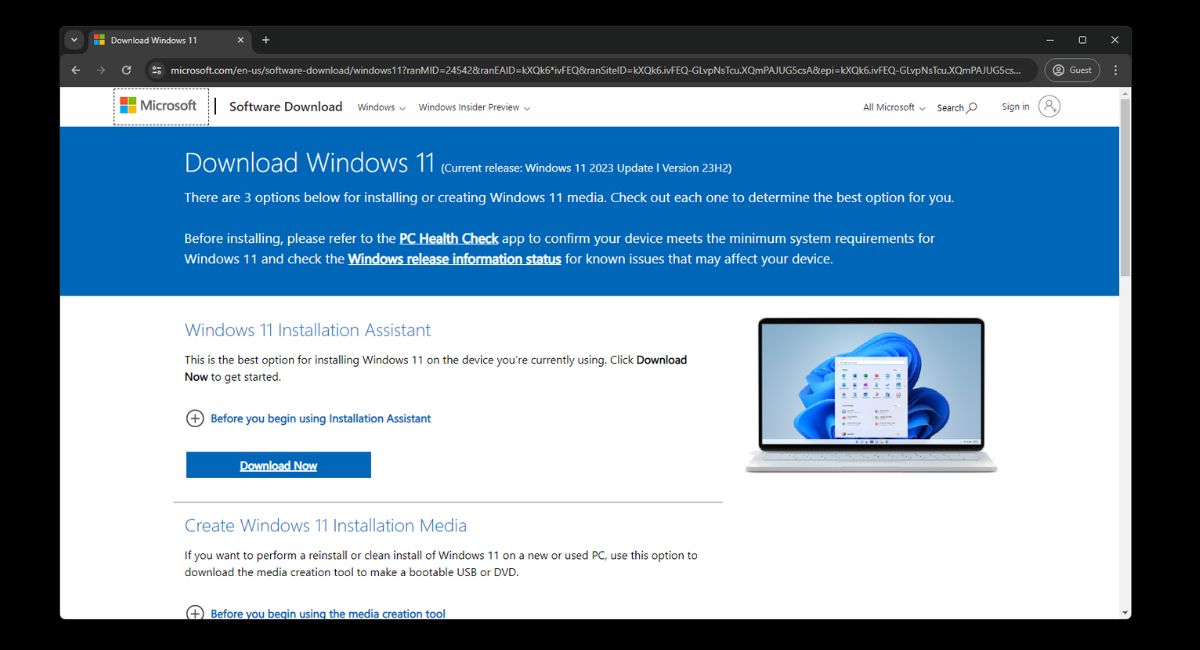
1.Open Microsoft’s Windows 11 download page in any web browser.
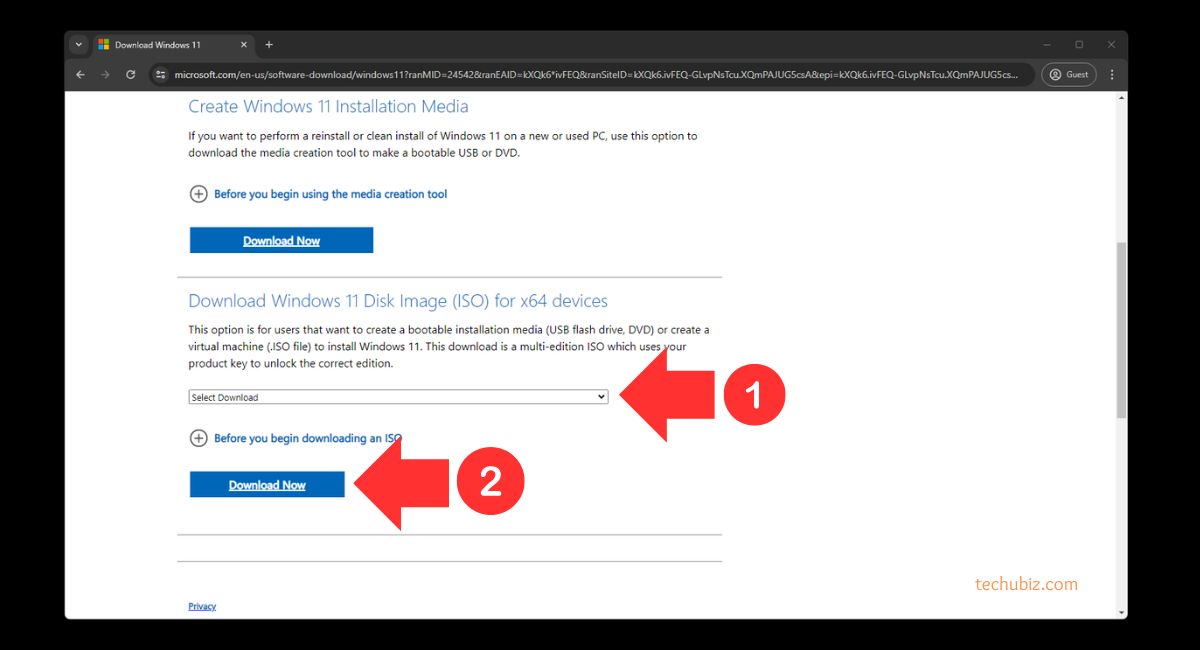
2.Scroll down to the page and select “Windows 11 (multi-edition ISO)” from the drop-down menu under Download Windows 11 Disk Image (ISO) and then click Download.
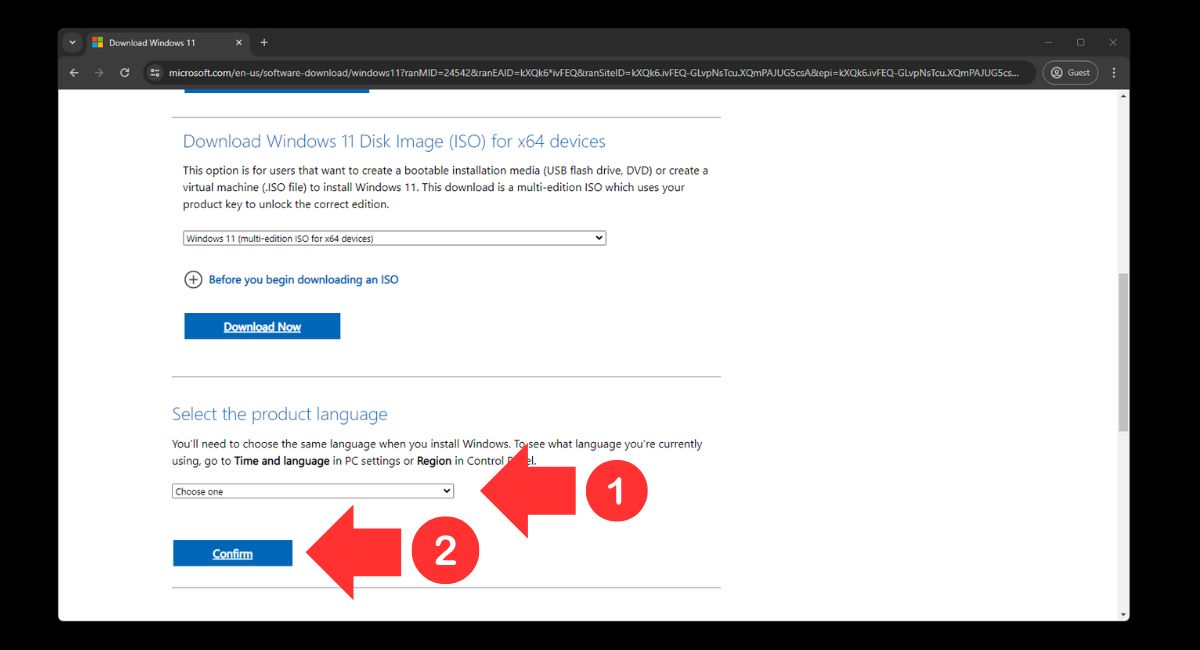
3.Next, select the language you wish to download Windows 11 from the drop-down menu and then click Confirm.
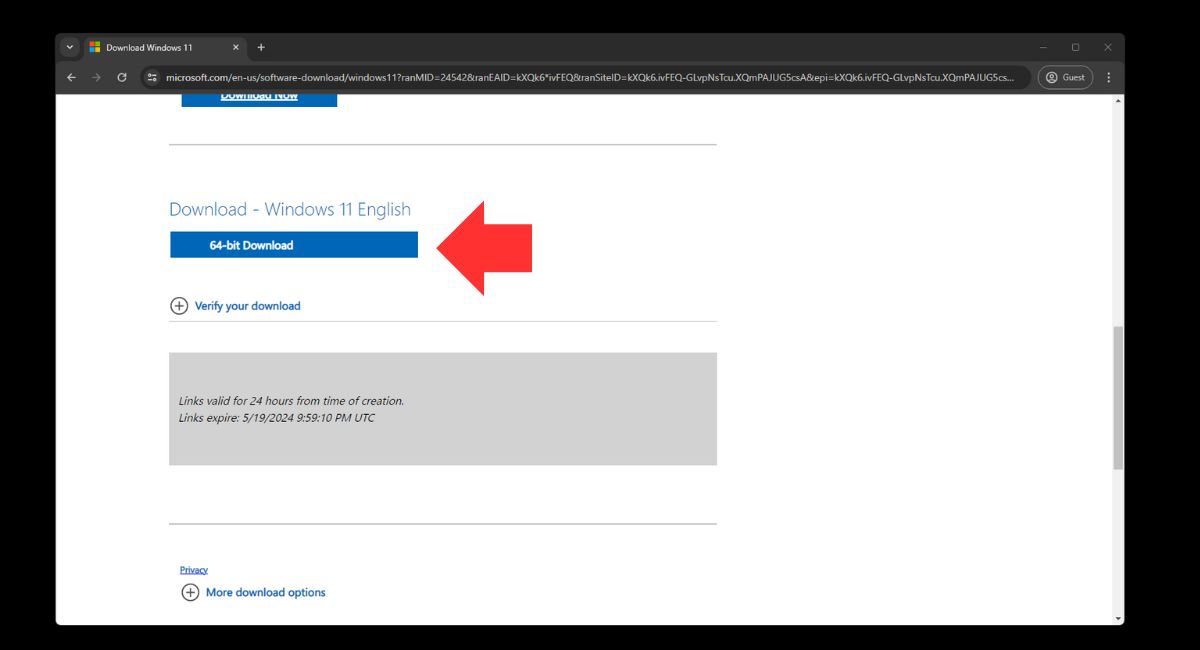
4.Now, click the 64-bit download button, and your Windows 11 ISO download should now begin.
you can download the operating system in any of the following 37 languages:
-
- Arabic
- Brazilian Portuguese
- Bulgarian
- Chinese Simplified
- Chinese Traditional
- Croatian
- Czech
- Danish
- Dutch
- English
- English International
- Estonian
- Finnish
- French Canadian
- German
- Greek
- Hebrew
- Hungarian
- Italian
- Japanese
- Korean
- Latvian
- Lithuanian
- Norwegian
- Polish
- Portuguese
- Romanian
- Russian
- Serbian Latin
- Slovak
- Slovenian
- Spanish
- Spanish (Mexico)
- Swedish
- Thai
- Turkish
- Ukrainian
Note: This method will automatically download the latest version of Windows 11 available at this time.
Download the Windows 11 Media Creation tool and then run the file.
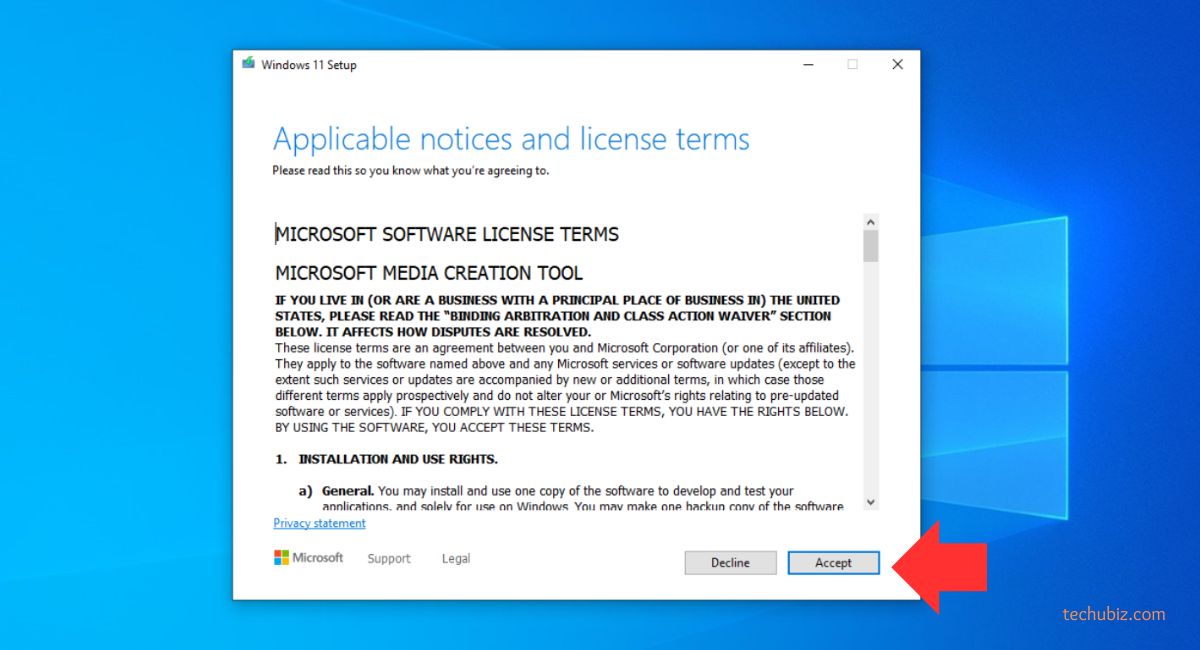
You will now see a new window for MCT. Accept the license terms.
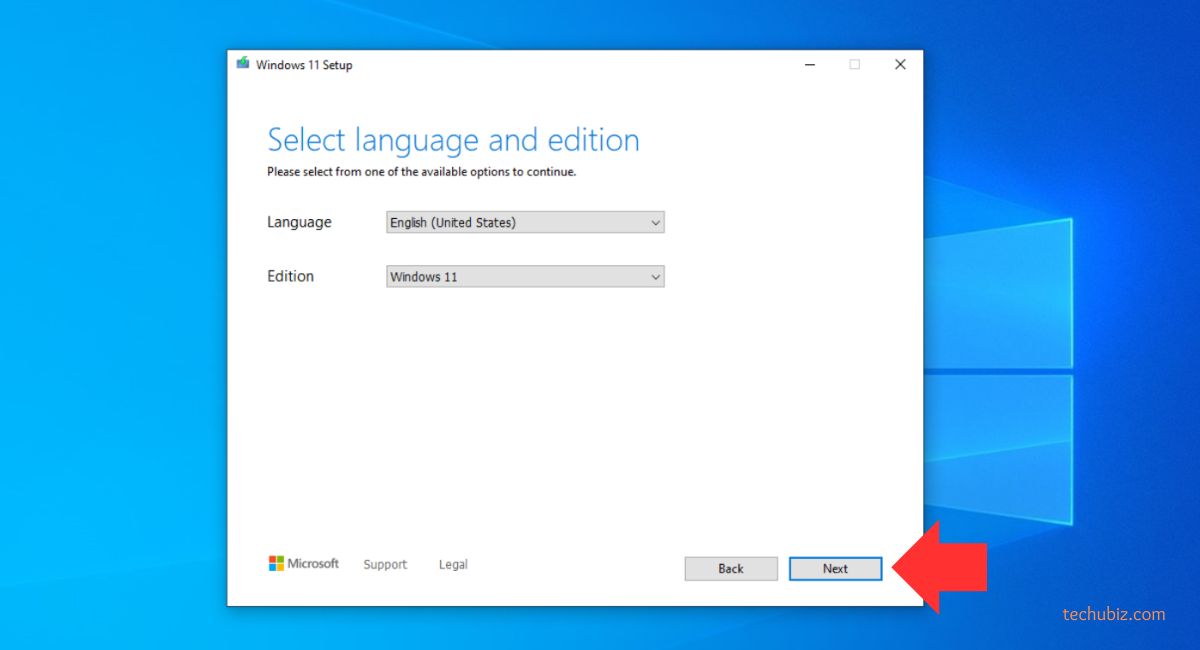
Before proceeding further, verify the pre-determined details for the machine you are downloading the ISO for. If you are downloading the ISO file to another computer, we suggest that you uncheck the box next to “Use the recommended options for this PC” and select the language you wish to download Windows 11 version 2023 in.Once done, click Next.
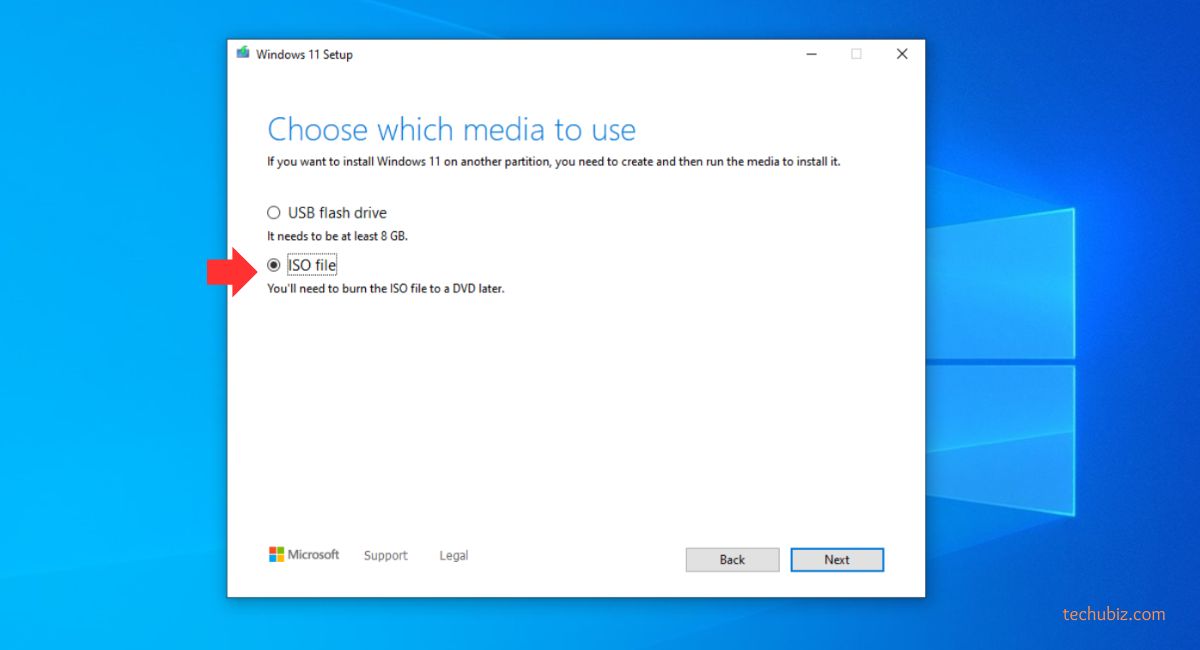
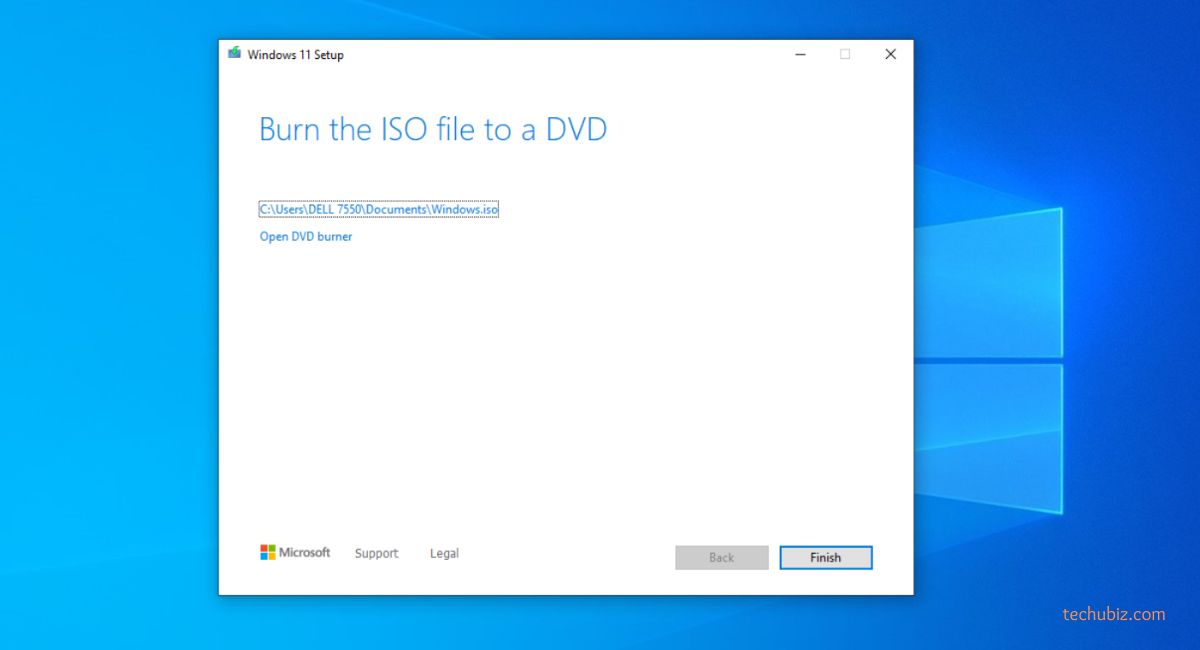
Now select the ISO file radio button to download the file and then click Next.
You will now need to choose where you wish to download the ISO image. Select a volume with ample free/available space and click Save. The Media Creation Tool will now begin your download.
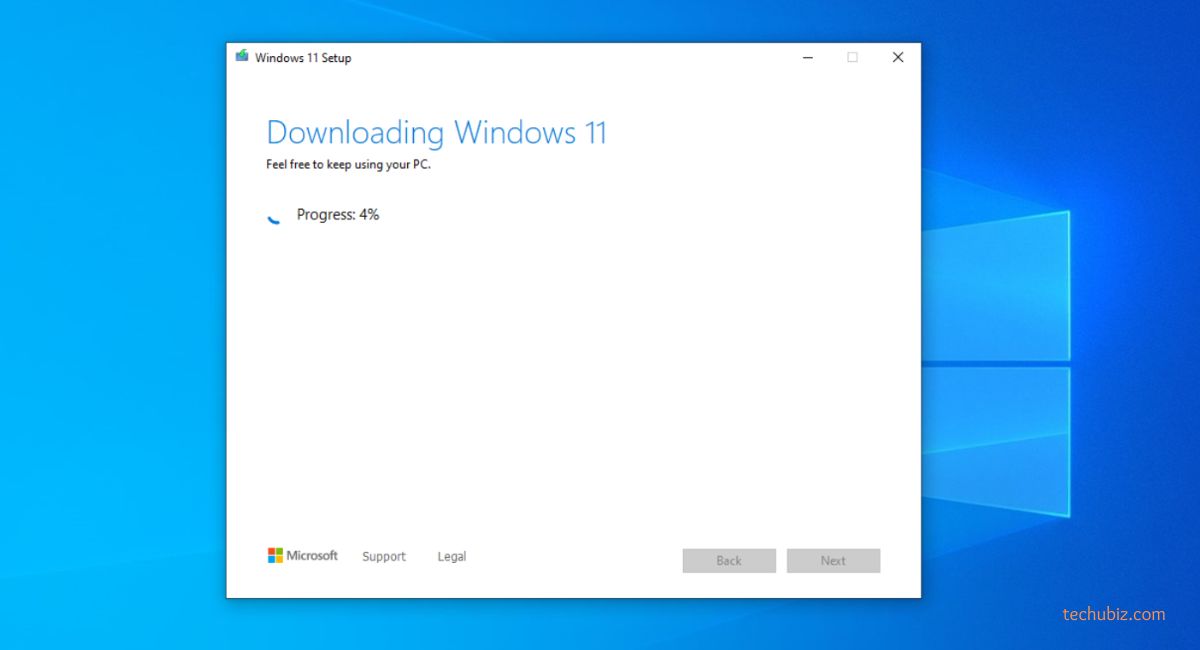
Once the download finishes, click Finish to close the tool. You may find that the software then performs a setup cleanup. You can ignore this and let it run in the background.
Now that you have downloaded the Windows 11 ISO image, you may proceed to the next phase: Creating a bootable device.
Upgrade to the Latest Windows 11 Version
If you do not wish to perform a clean installation of Windows 11 and download the ISO, you can also upgrade your current OS to the latest Windows 11 version available through Windows Update or through the Installation Assistant.
Upgrade to Windows 11 Through Windows Update
If you want to upgrade your device to Windows 11 from a Windows 10 PC, you must first meet the minimum system requirements. If your device does qualify, you can then check if you have received a Windows 11 upgrade option by navigating to the following (In Windows 10):
Settings app >> Update & Security >> Windows Update
If you are already on an older Windows 11 version and want to update to a newer version, navigate to the following:
Settings app >> Windows Update
Here, click Check for updates on the right side of the window. When the scan finishes, check to see if you have a notification at the top of the top like the one in the image below:
If you do see it, simply click Download and Install to begin the upgrade process.
Upgrade to Windows 11 using Installation Assistant
Another way to upgrade your current OS is through the Installation Assistant. This tool needs to be run on the PC you want to upgrade. Please note that Windows 11 installation assistant does not work with ARM-based PCs. For ARM-based devices, you can use the manual download and installation method.
Follow these steps to update today:
Note: This method will update it to the latest version of Windows 11 available at this time.
Download Windows 11 Installation Assistant and execute the package.
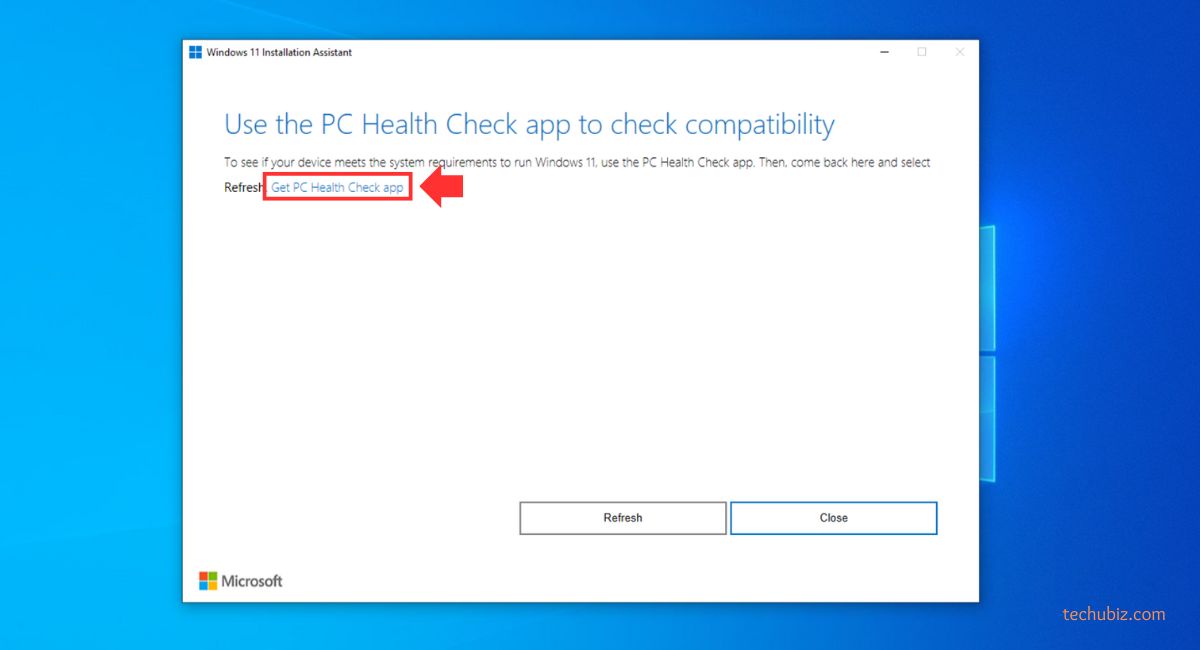
First, you will need to download and install the PC Health Check app regardless if you are already running Windows 11. Click Get PC Health Check app.
The app will now download. Install the PC Health Check app and see if your system meets the requirements.
Once done, return to the Installation Assistant and click Refresh.
Now click Accept and install.
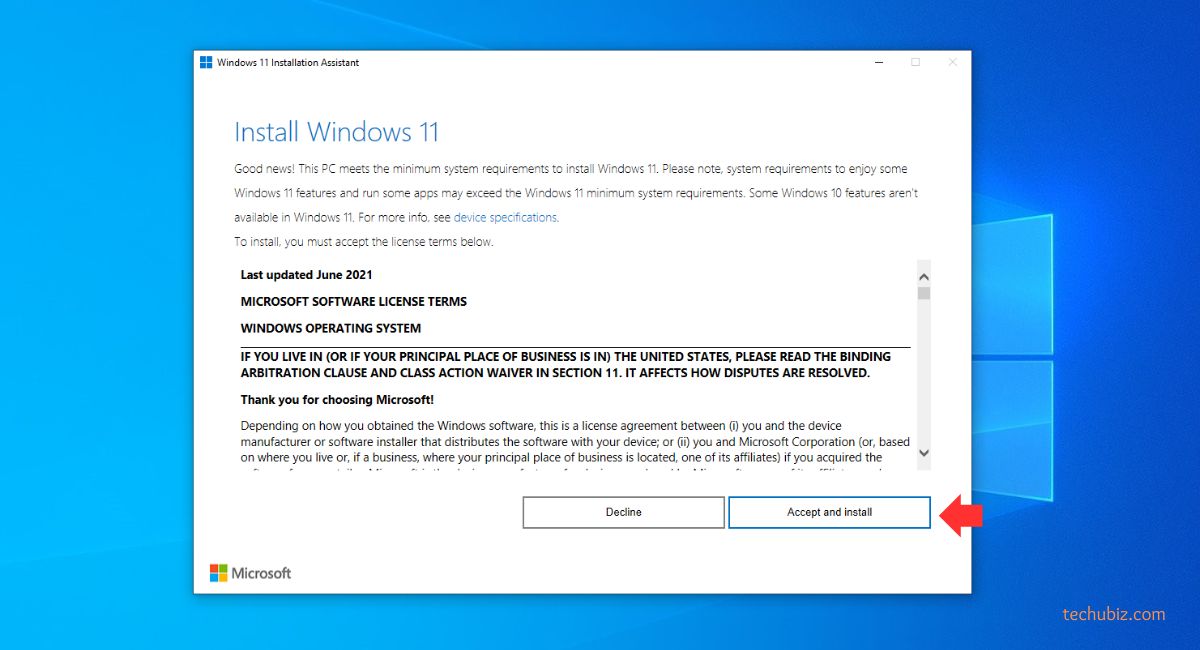
The tool will now begin to download Windows 11. Once finished, restart your computer so it can upgrade to the latest version available.
For more details on upgrading to Windows 11, read this Microsoft blog post.
To learn more about the new Windows 11 feature, visit Microsoft’s announcement page.
Download Windows 11 Insider ISO
You can also download the Windows 11 Insider ISOs and use them to perform a clean install. However, note that after installing the Windows OS using the Insider ISOs, you will not be able to revert back to the stable build – only pause receiving further updates.
Furthermore, you must have a Microsoft account that is registered with the Windows Insider Program. If you have one, use the following steps to download a Windows Insider ISO file:
Open the Windows Insider Preview Downloads page using any web browser.
Log in with your Microsoft account registered with the Windows Insider program.
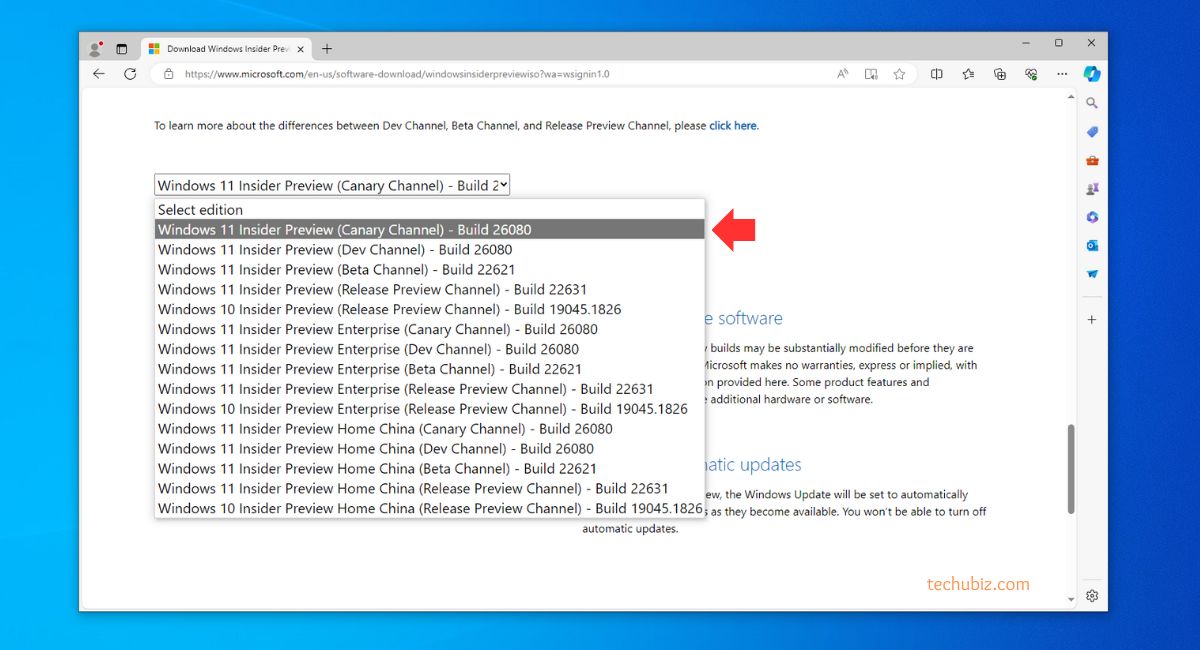
Scroll down and select a Windows Insider build from the drop-down menu and click Confirm.
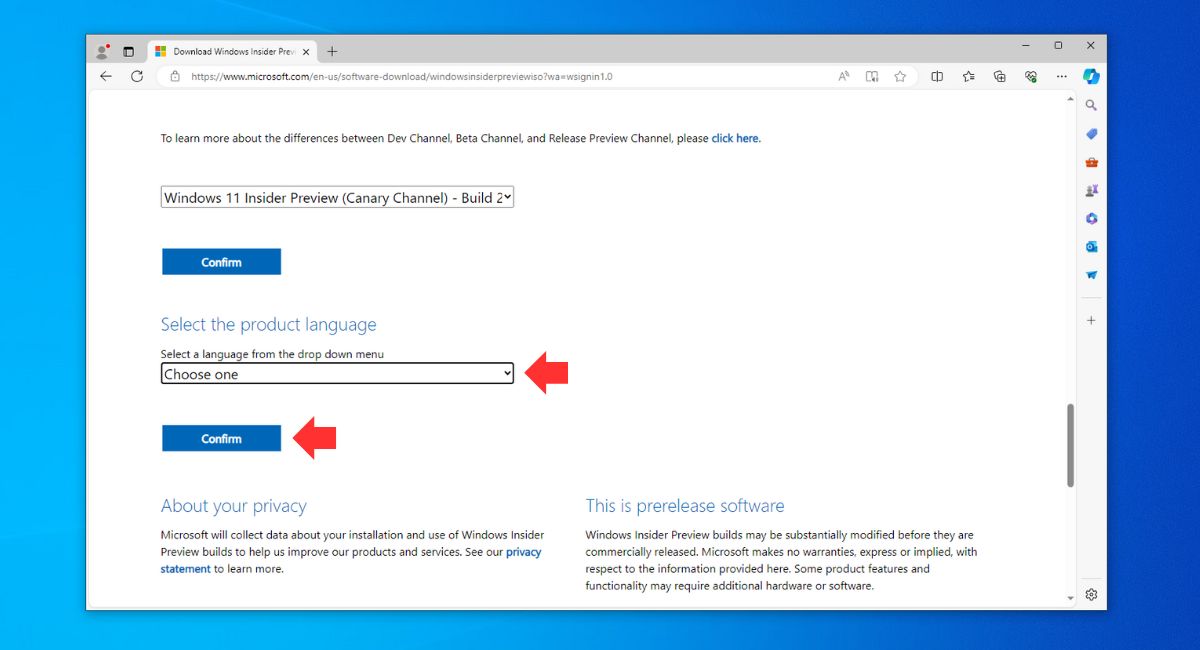
Now select the language you want to download it in and click Confirm.
Finally, click 64-bit Download to begin downloading the ISO image.
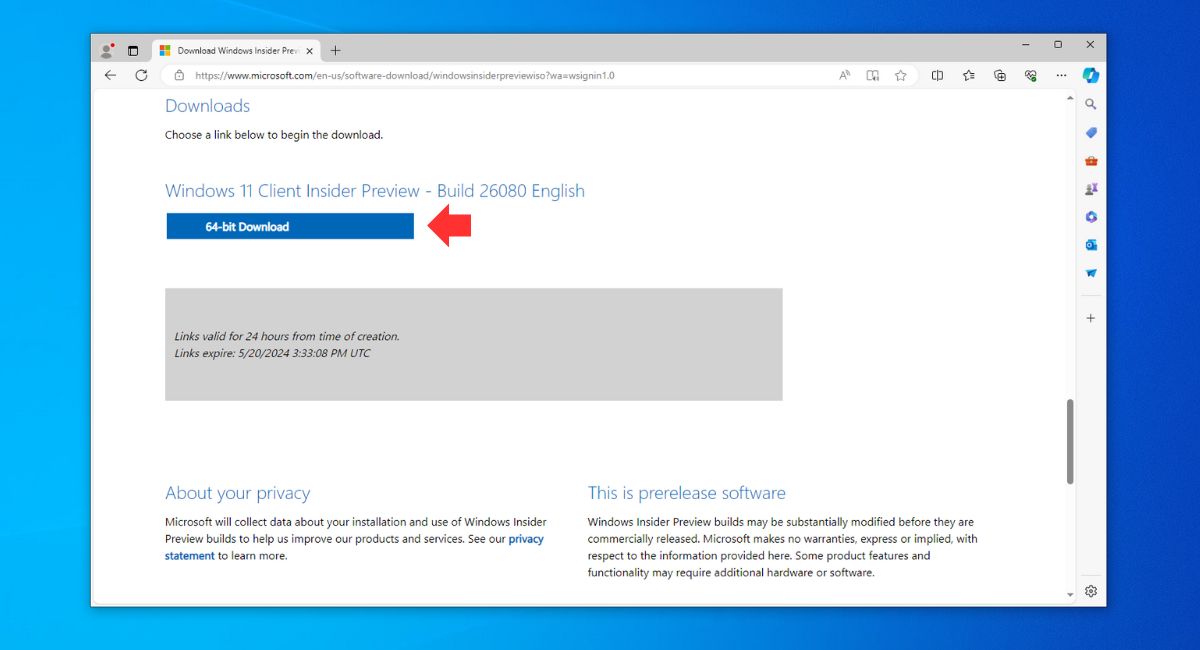
our download should now begin instantly. You may then use the Insider ISO to perform a clean install of the chosen Insider Windows build.
Check Windows 11 Minimum System Requirements
Before starting the process of installing Windows 11 on your PC, we recommend that you start by checking whether your target PC meets the minimum system requirements.
When Windows 11 was first launched, Microsoft changed the minimum system requirements to ensure more security and reliability of the system itself. Here is a list of these minimum requirements:
- It’s a 64-bit only Operating System. 32-bit is not supported.
- Minimum 2 CPU Cores are required.
- TPM 2.0 is required for installation. TPM 2.0 was mostly integrated into 8th-generation CPUs. So at least an 8th Gen CPU is required.
- Only UEFI is supported. The legacy boot is not supported.
It can be difficult to check each of these specifications individually. However, you can use the PC Health Check app to check for Windows 11 requirements automatically. Here is how:
On the target PC, download the PC Health Check app.
Run the downloaded Windows PC Health Check Setup file.
Agree to the licensing terms and click Install.

The app will now install.
When installed, run the PC Health Check app.

Inside the app, click “Check now.”
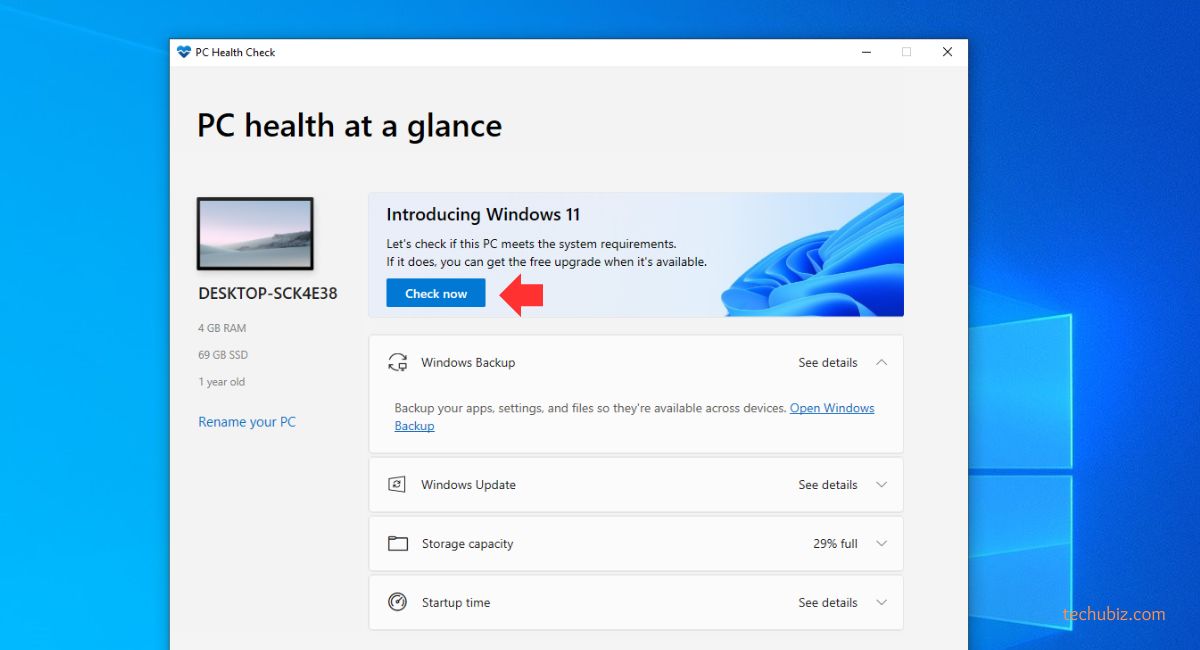
The app will now run a brief scan and let you know if your PC supports Windows 11.
View all results for Windows 11 requirements.

If your PC meets the minimum requirements for Windows 11, then you can proceed with the given topics below to create a bootable Windows 11 USB flash drive and then install it.However, if it doesn’t, then you either need to upgrade your system or bypass the requirements for Windows 11.
Create Bootable Windows 11 USB Drive
Creating a bootable device out of an ISO image is relatively easy. You can create a bootable USB drive as well as a DVD. However, we suggest that you create a USB drive as it is more convenient.
You can use Rufus or Ventoy to create a bootable USB flash drive using the ISO image that you have downloaded for Windows 11 in the section above.
Let us show you how to create a bootable USB flash drive for Windows 11:
Plug in a USB flash drive (at least 8GB) to your computer.Make sure that all your data on the USB is backed up since it requires formatting where all stored data on the USB flash drive is lost.
Download Rufus from its website and install it on your computer.Alternatively, you can also download the portable version which does not need any installation.

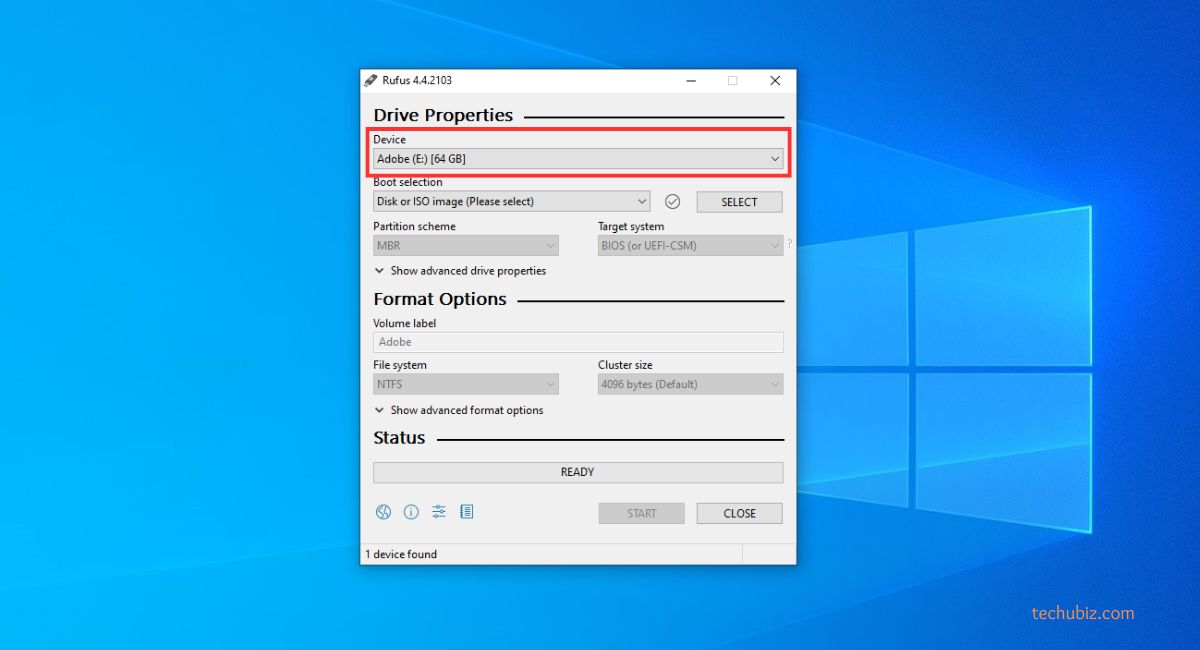
Once downloaded, run Rufus software.
From Rufus, select the USB flash drive from the drop-down menu under Device.
Then, click “Select” under Boot selection, navigate to the downloaded Windows 11 ISO file, and select it.
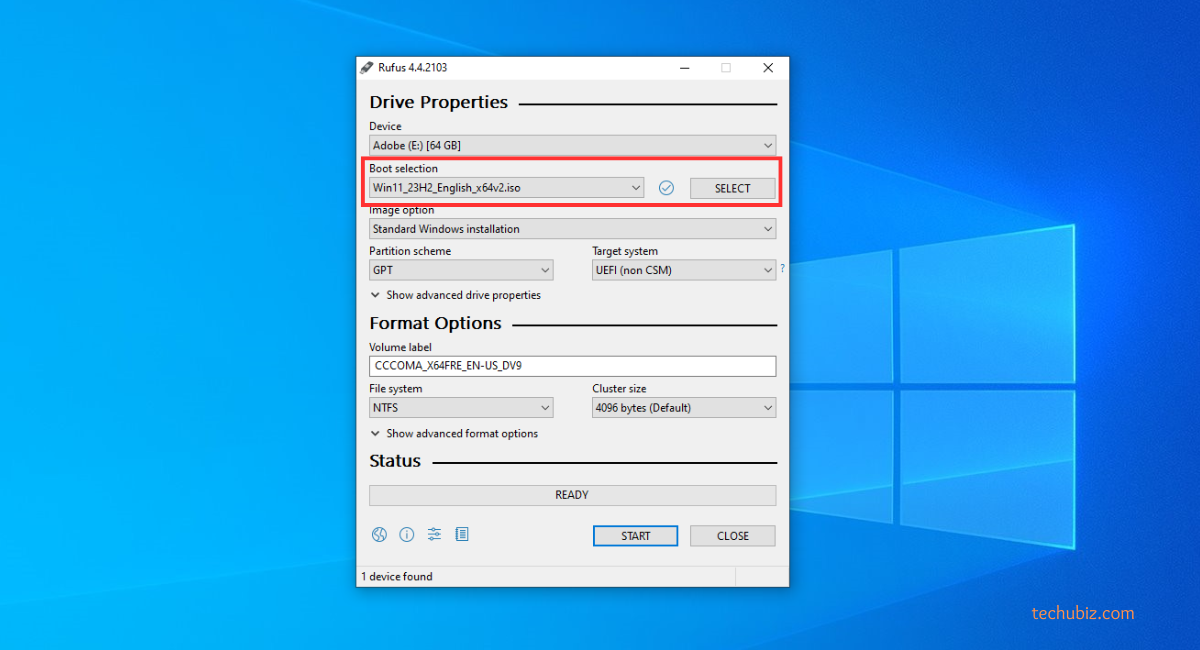
Leave the rest of the settings to their default values and click Start.
Select the Windows 11 customization options and click Ok.
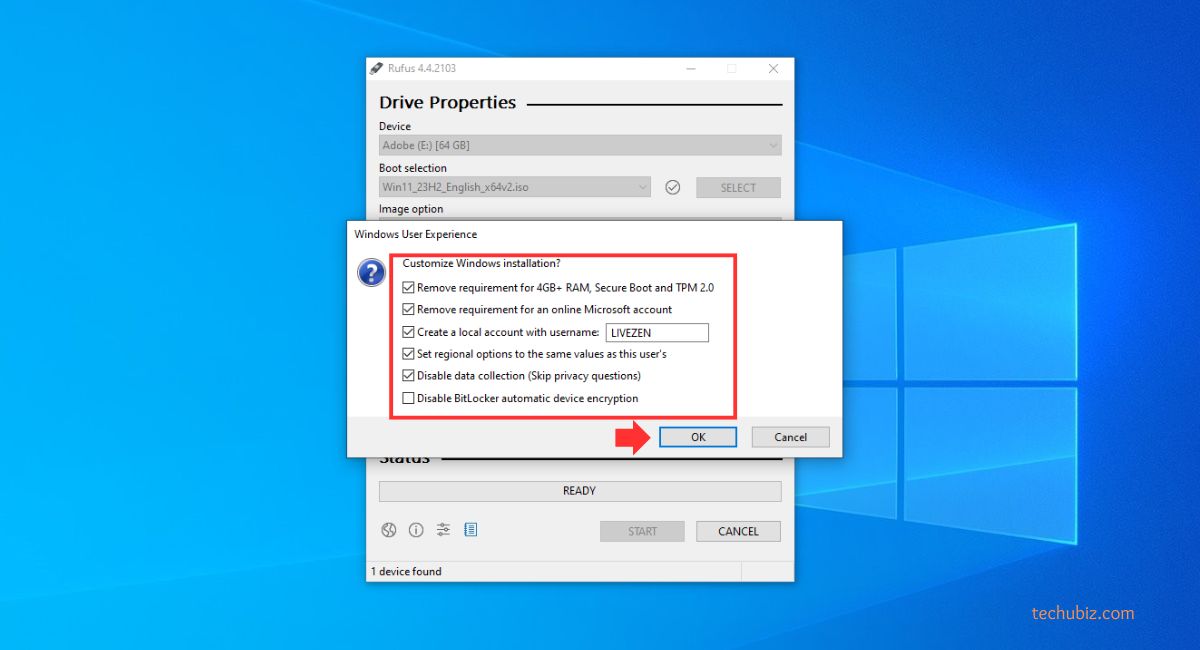
Since Rufus can now bypass the minimum requirements for Windows 11, you can select the type of bootable USB you want to make.If prompted with another confirmation, click Ok.Your Windows 11 bootable USB drive will now be in the making. This step may take a few minutes to complete.
Once it is finished, “Ready” will be displayed with a green bar. You may then close the app.
Your bootable drive is now ready and you may proceed to the installation phase using the guide given below.
Install Windows 11 from ISO
Now that you have created a bootable drive using the ISO file, you can now begin installing Windows 11. Here is how:
- Confirm that the target PC meets the minimum Windows 11 requirements (discussed above).
- Plug in the bootable Windows 10 USB flash drive in the target computer.
- Turn on/reboot the computer and open its One Time Boot Menu (Usually through the F12, F10, or Esc button).
- Select the external USB drive to boot from the bootable USB.
- You will now see a menu such as the one below. Click “Next.”
- Click “Install Now.”
- On the next screen, click “I don’t have a product key.”Even if you do have one, you can activate the product later after installation.
- Select the Windows 11 edition that you want to install on this device from the list. When selected, click Next.
- Check the box to accept the license agreement and click Next.
- Select “Custom: Install Windows only (advanced).”You will now be asked if you want to upgrade your existing OS or perform a custom installation. Since this is a clean and fresh Windows 11 installation, we will be selecting “Custom.
- Click “New” and create the disk partitions as you want them. Remember to have at least 40GB of space in the primary (C) drive for Windows installation.
- Click “New,” enter the size of the partition to create (in MBs), then click Apply.
- If intimated about additional partitions creations, click Ok.
- Select the partition you wish to install the operating system on and click Next.
- Windows 11 will now begin installing on your device. This step may take a few minutes and your device may reboot a few times.
Further ahead in the process, you will be asked to configure your PC through several Out Of Box Experience (OOBE) screens. Proceed with the on-screen instructions and configure your PC, and you will have successfully installed Windows 11.
Once it finishes, you will be logged into your user account on the all-new Windows 11 PC! You can now begin installing the relevant software and customizing it according to your liking.
Frequently Asked Questions
How to purchase Windows 11?
Currently, you cannot purchase Windows 11 through a license directly. However, you can purchase a device that comes preinstalled with Windows 11 or a Windows 10 device that is eligible for an automatic update.
Can I upgrade my PC to Windows 11?
Yes, you can upgrade it through Windows Update, provided your system meets the minimum hardware requirements. Certain features of Windows 11 require additional hardware like TPM 2.0 and a secure boot. You will need to ensure your PC is compatible with Windows 11 requirements to enjoy all features of Windows 11.
The minimum requirement is to ensure you can run the software. Higher end PCs will be more efficient. Additional requirements may apply over time and for updates.
Related questions:
how to download windows 11 iso, where can I download the official windows 11 iso, is there a free download for windows 11 iso, how do I get the windows 11 iso file, can I download windows 11 iso directly from microsoft, what is the process to download the windows 11 iso, how to get the 64 bit windows 11 iso, is the windows 11 iso file available for free download, where to find the official windows 11 64 bit iso, how can I download the windows 11 iso image


 Windows 11
 Windows 10
 Windows 8
 Windows 7
 Windows XP
 Microsoft 365
 Office 2021
 Office 2019
 Office 2013
 Project 2021
 Project 2019
 Project 2016
 Visio 2021
 Visio 2019
 Visio 2016
 Server


 CAD & 3D, 2D