Knowledgebase
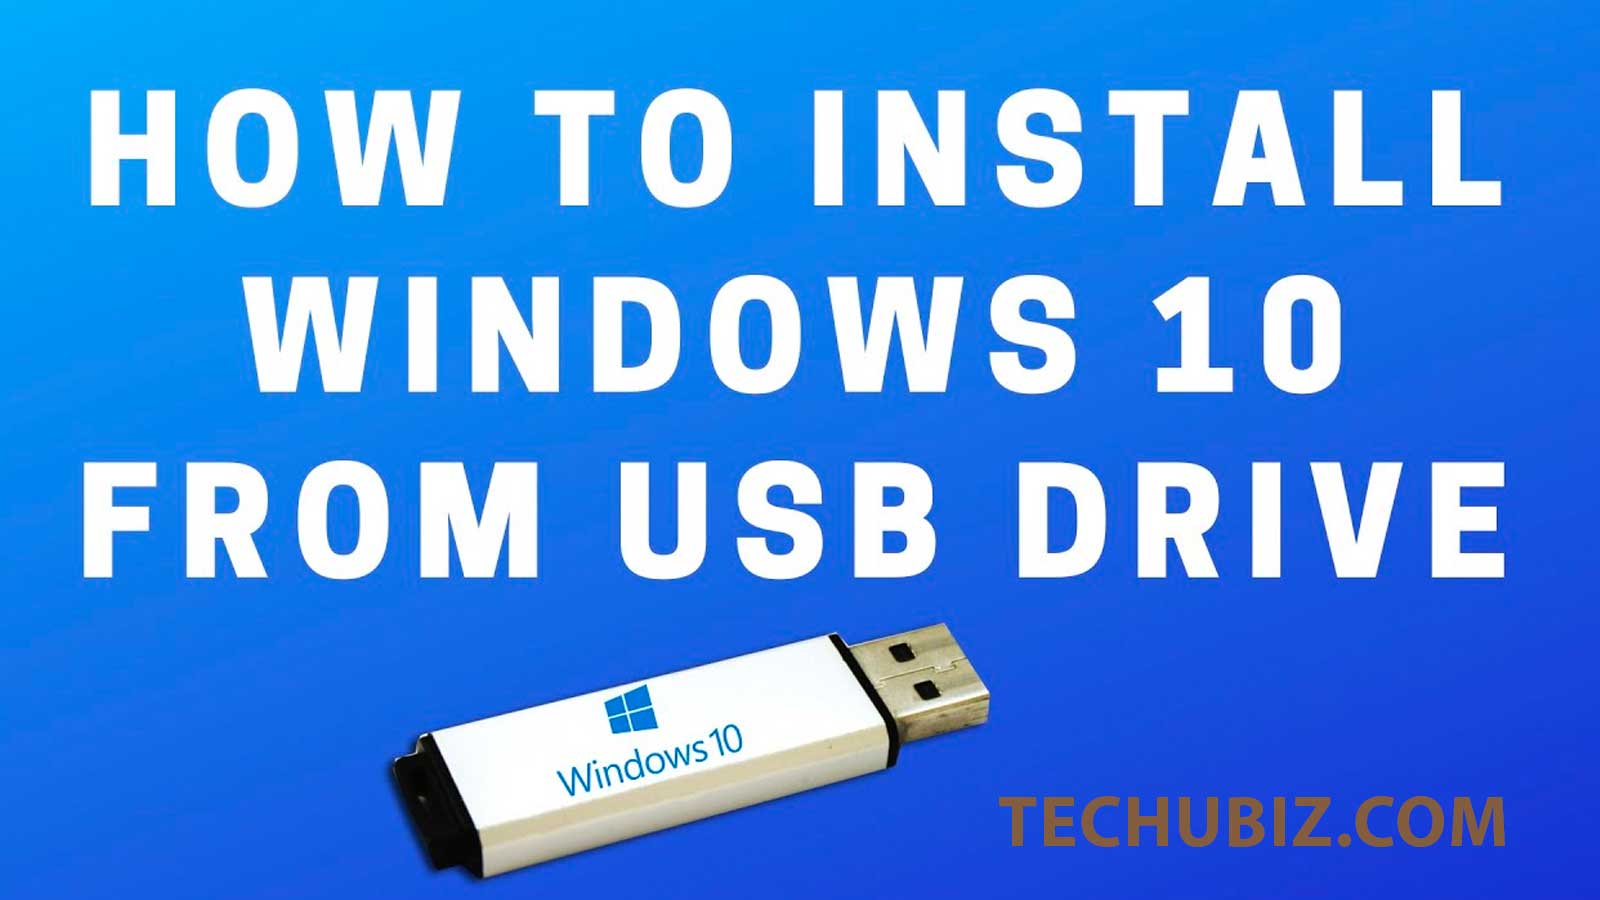
How to Install Windows 10 from USB [Step-by-step Guide]
If you want to install Windows 10 from an USB, here is the ultimate guide you can follow up.
Contents
Step 1. Check Windows 10 System Requirements
First of all, you need to check out if your device meets the minimum requirements for Windows 10. To verify, move on to read this article.
 |
What Are the Windows 10 System Requirements for Installation? What are the minimum requirements for Windows 10? Check out the Windows 10 requirements before you go for Windows 10. |
When there is nothing to worry about, go to Step 2.
Step 2. Create a Windows 10 Install USB Drive
In this step, you need to:
- Download Windows 10 media creation tool from Microsoft official webpage.
- Prepare a USB drive that is at least 8GB (16GB or more capacity is recommended).
- Follow the guide below to create a Windows 10 install USB drive.
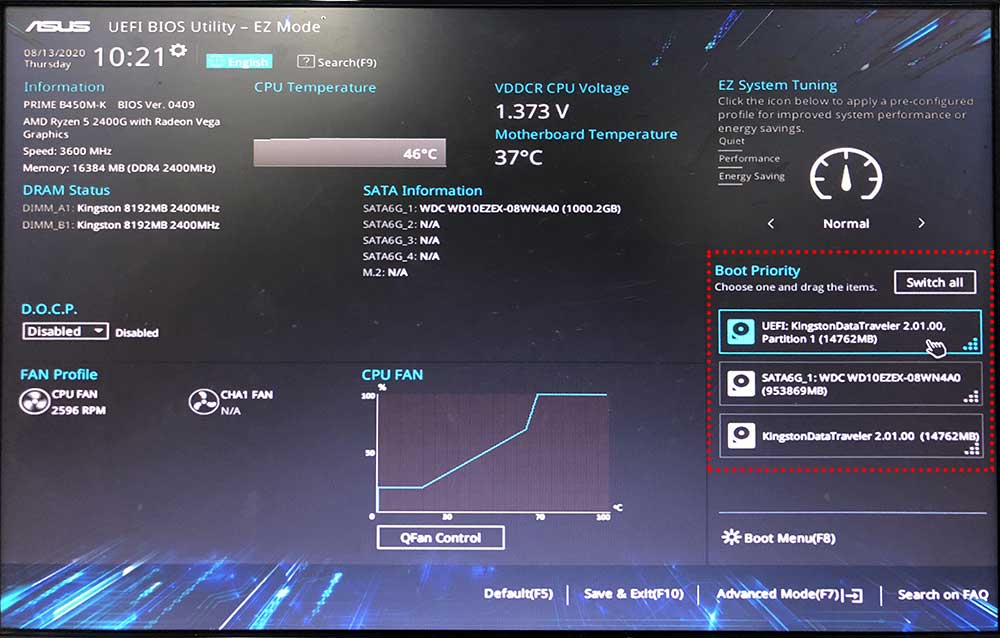
Step 3. Boot Your Computer from the USB Drive
Before you can install Windows 10 from the USB drive, there is another thing must finish: setup your computer to boot from that drive.
- Connect the USB drive to your computer.
- Restart your computer. When the screen lights up, keep pressing on F2 (or F1, F10, F12, DEL or some combination keys, you will find this info by checking the mainboard manual) to invoke the BIOS Setup menu.
- Now you are led to the BIOS where you can go to the Boot tab to set USB drive as the first boot option.
- Save your changes and exit. In a few seconds, you will see the Windows Setup Screen.
Step 4. Install Windows 10 from USB Drive
In this step, you will need to go trough a lot of screens and make many selections. Be careful and do not power off your computer until you see Windows 10 desktop.
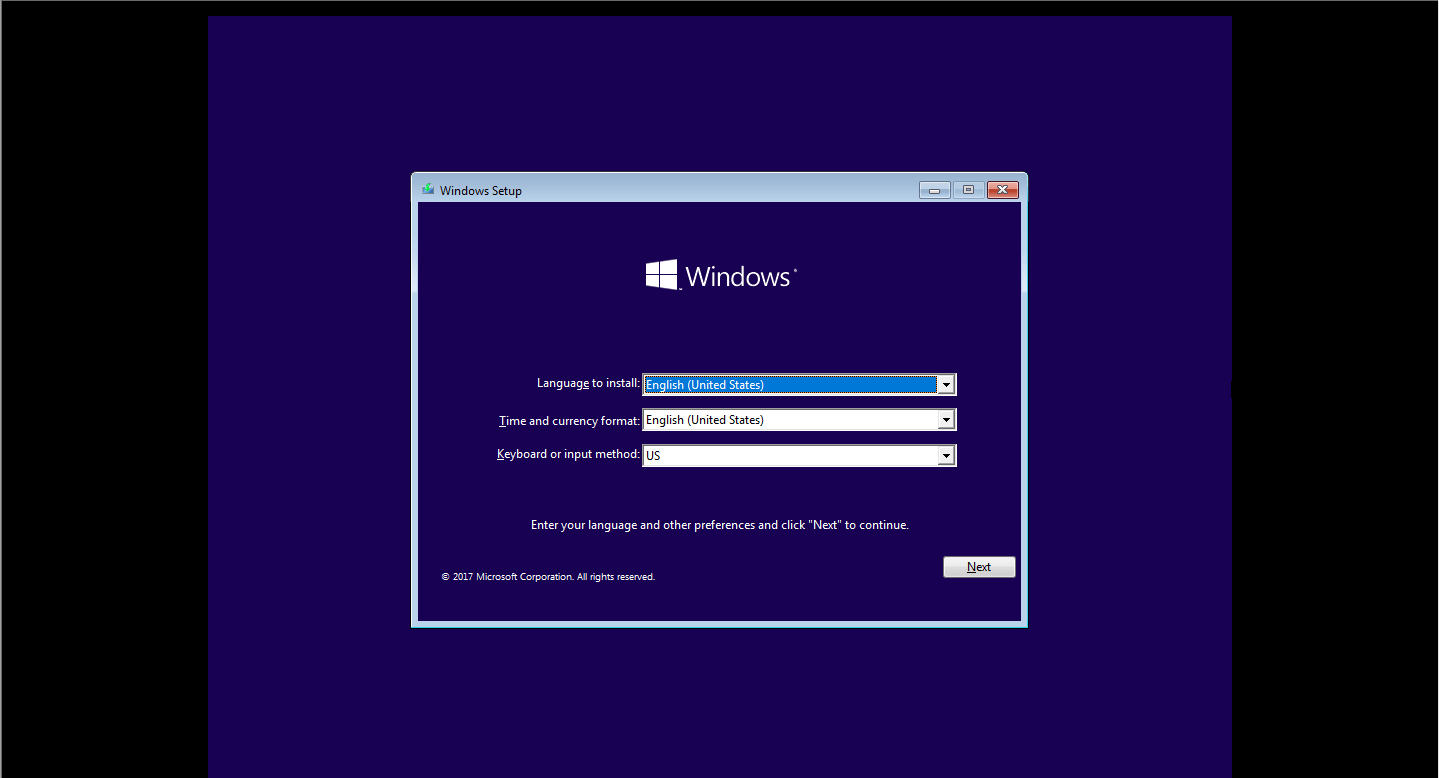
The first screen you see, is the language to display. Choose your preference and press Next to continue.
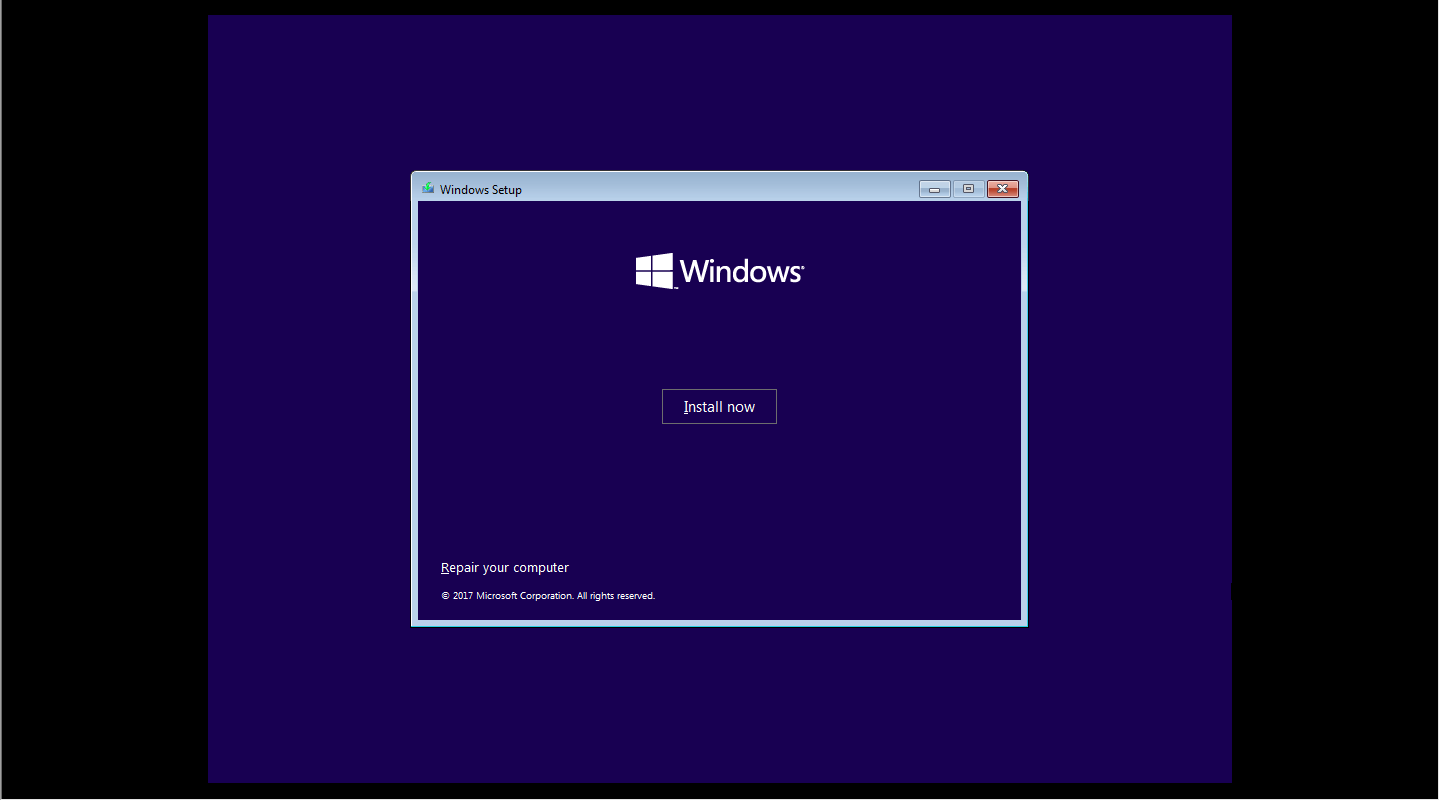
The next screen offers you two options. Click Install now instead of Repair your computer.
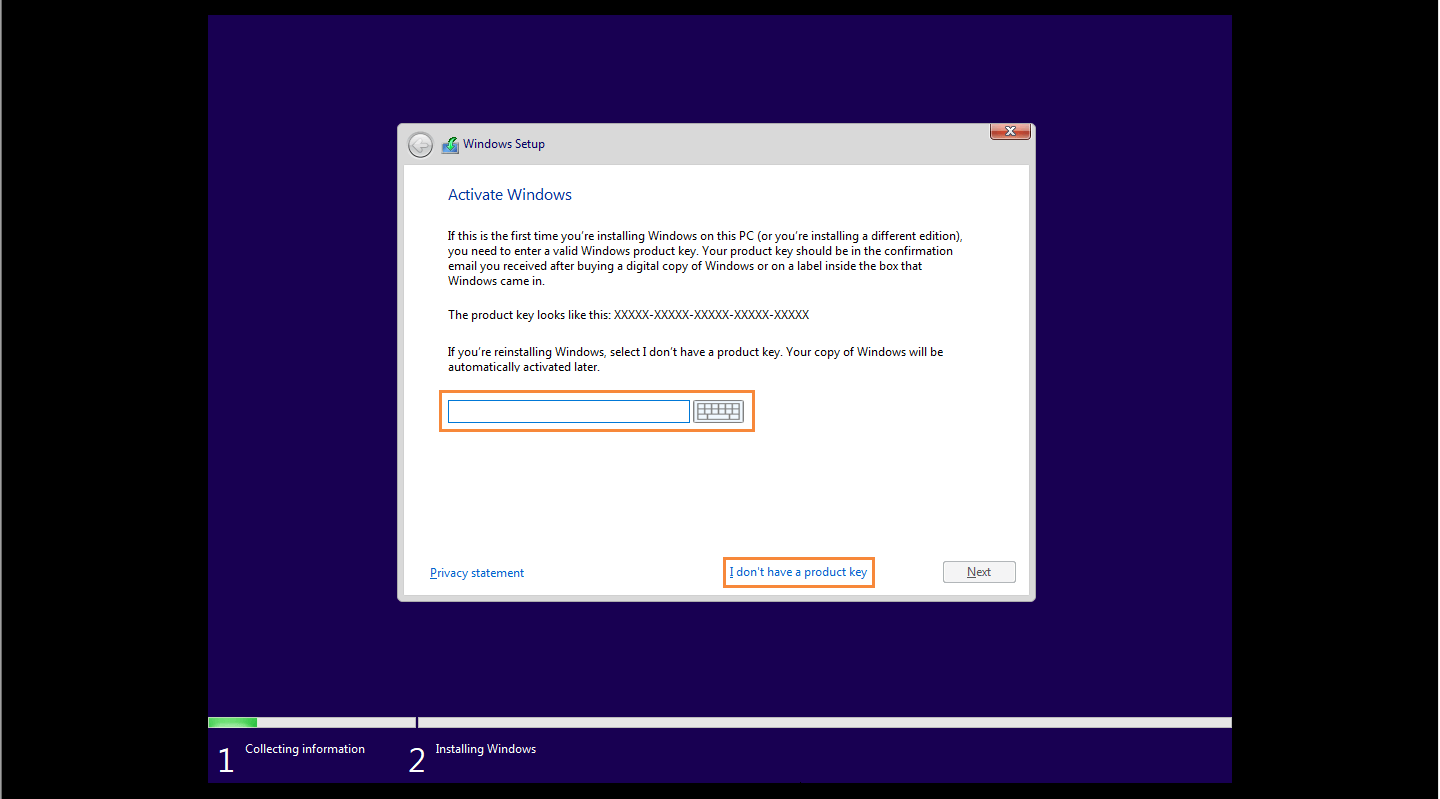
Now, you will be asked to input the license code of your Windows 10 operating system. If you do have one, type it in the box and click Next; if you do not have one yet, click I don’t have a product key.
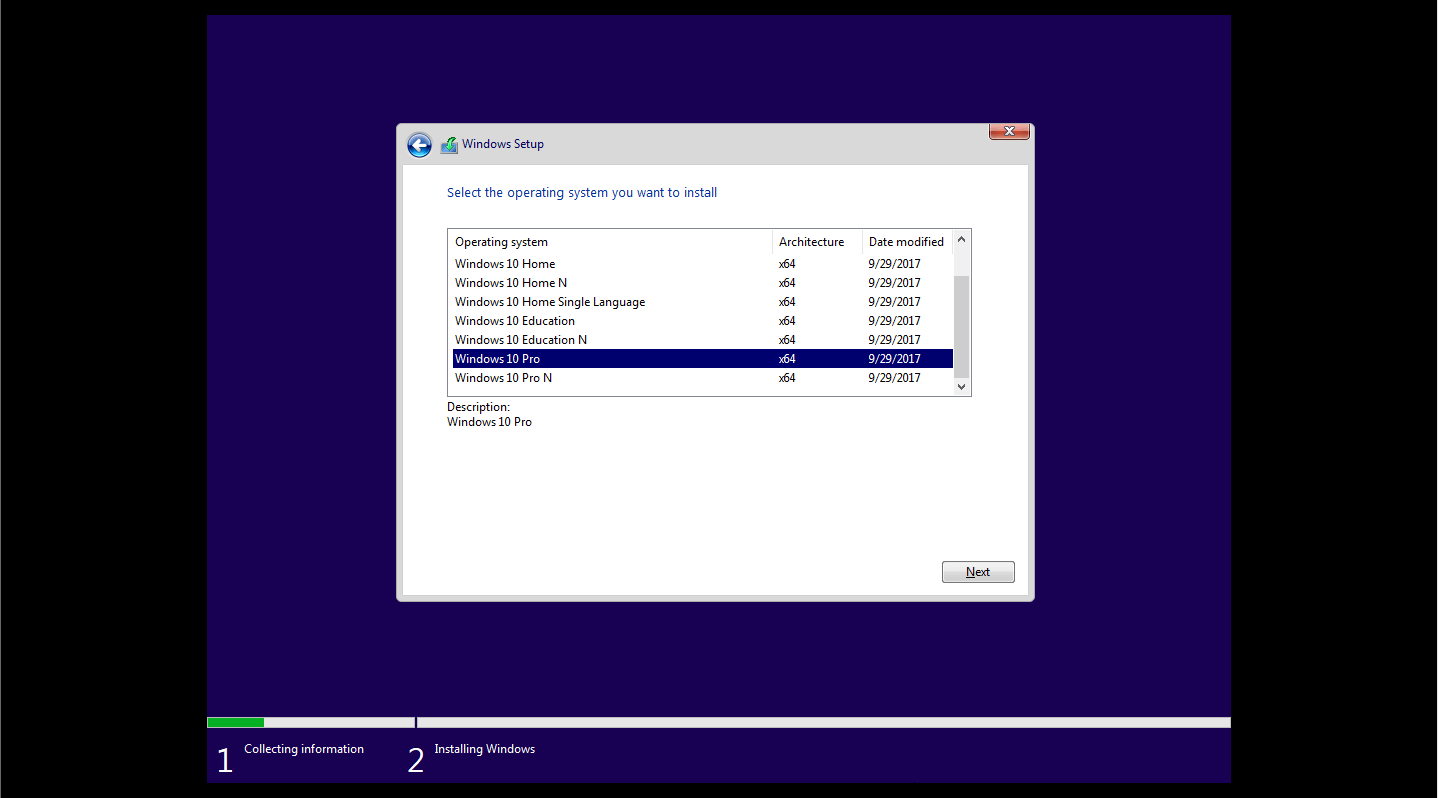
Now choose the Windows edition you want to install and continue.
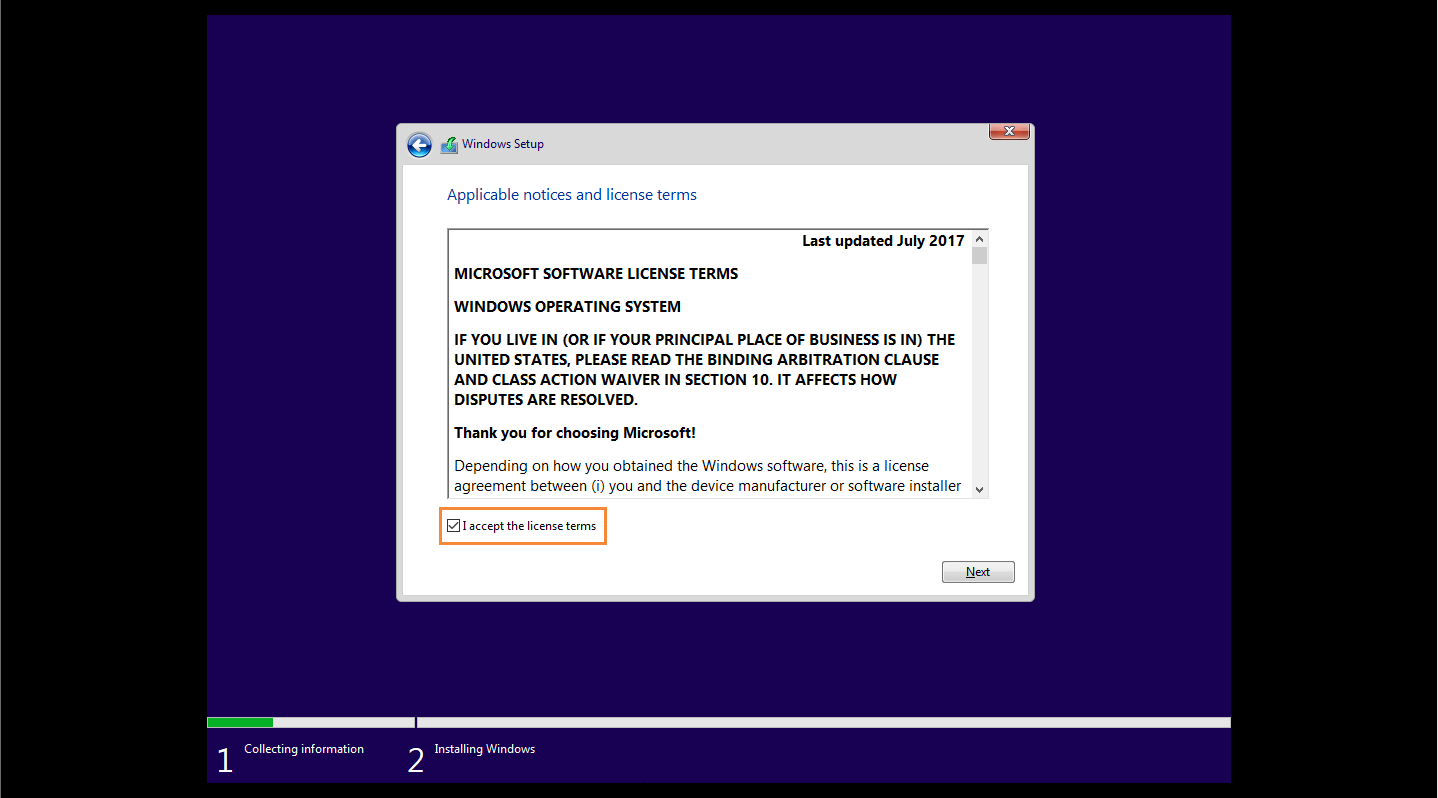
Read and accept the license terms. Go on.
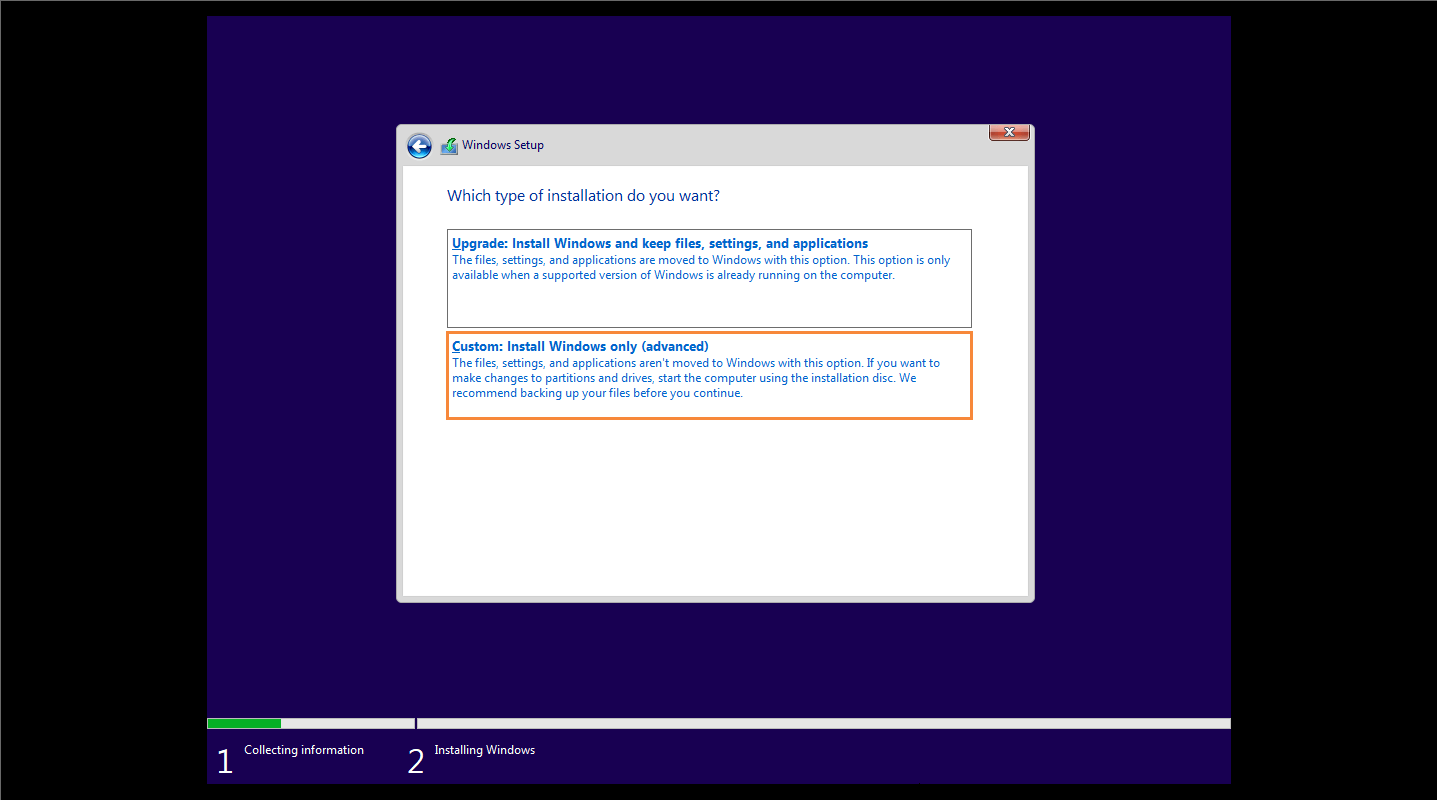
In this screen, choose Install Windows only. This will help you make a fresh Windows 10 operating system.
Here comes to one of the most important procedures, that is to choose the location of your Windows 10. This depends on the condition of your hard drive. For instance, if you have a new drive to install Windows 10, then you just select that drive to let Windows Setup divide your hard drive automatically.
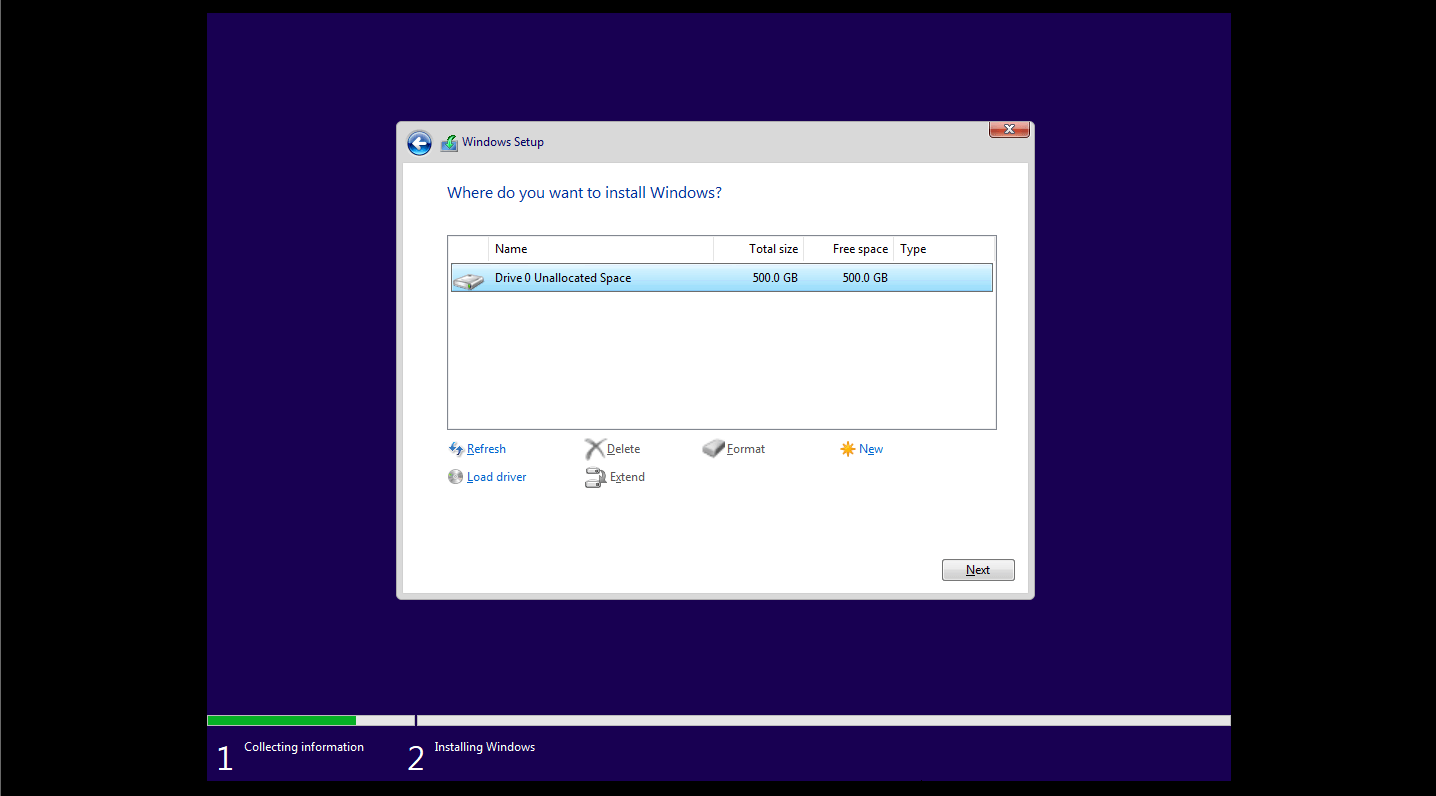
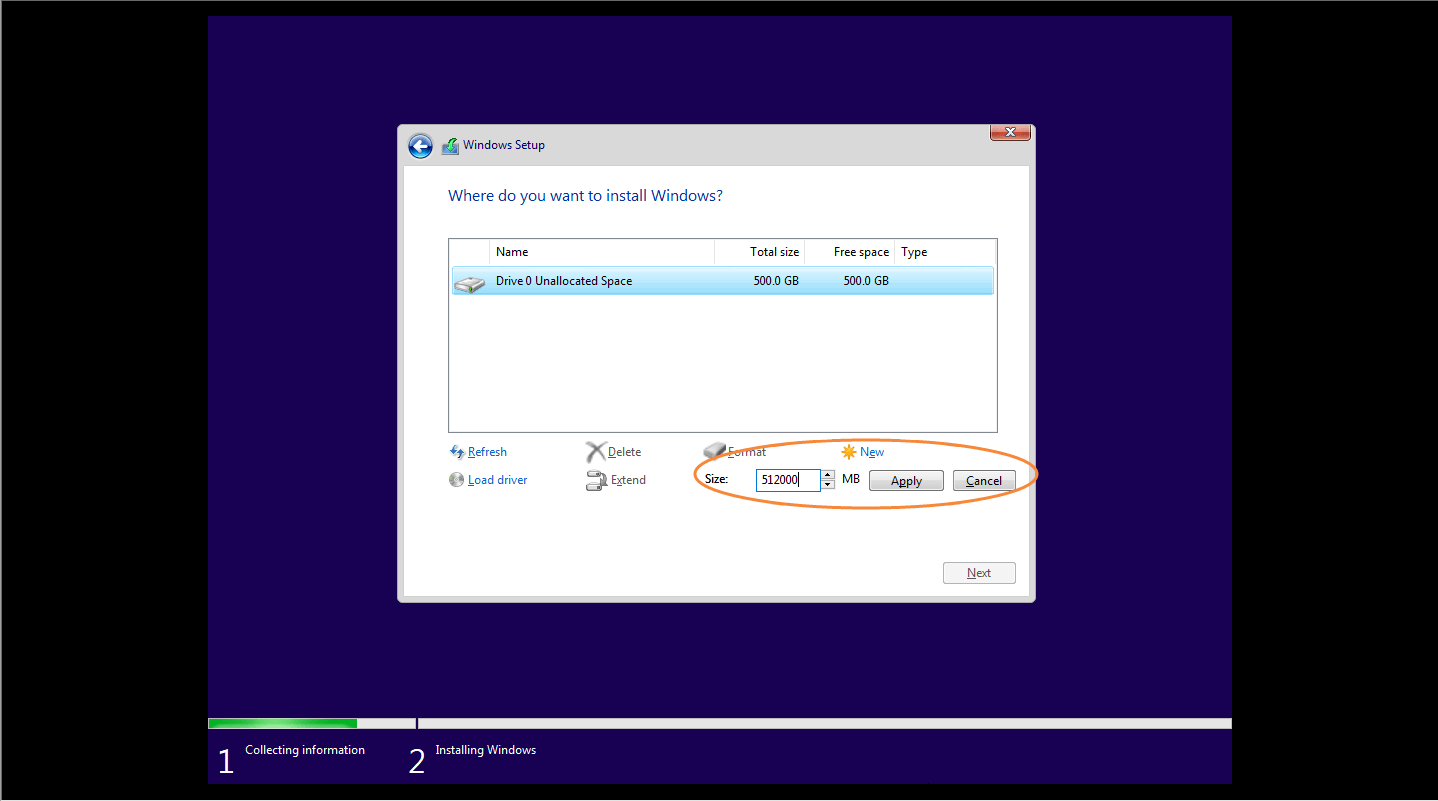
Also, you can determine how much disk space can the newly installed operating system take up. Simply by clicking on the New option, you are able to create a new partition on the drive to save Windows 10 installation files. In addition, remember to format the new partition to NTFS.
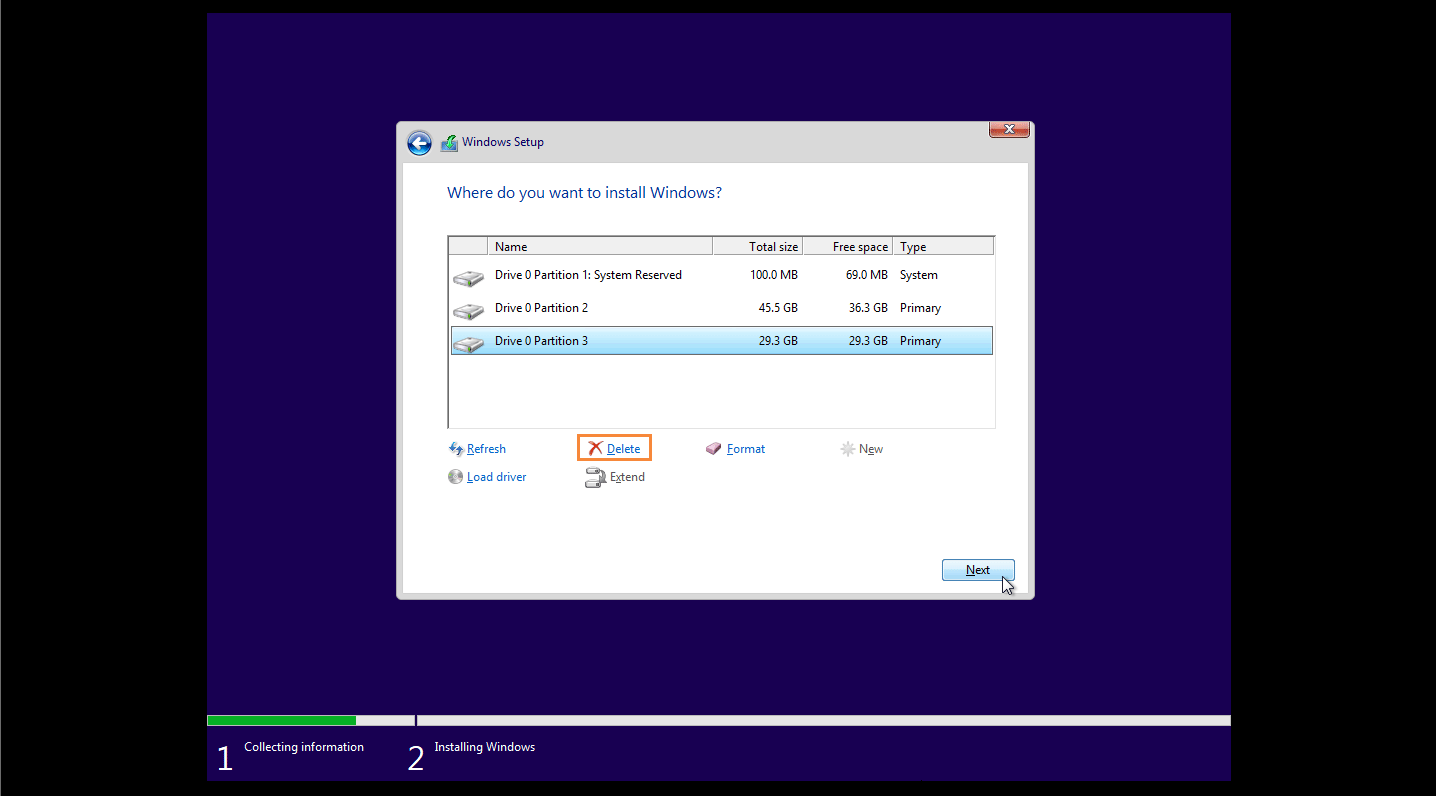
But if you do have Windows installed already and you want to reinstall with Windows 10, you had better select all the system related partitions, delete them one by one to make these partitions becoming a whole unallocated space. Then you just select that unallocated space to continue with Windows 10 installation.
From now on, you can take a rest for several minutes, for Windows Setup will complete the installation to 100%.

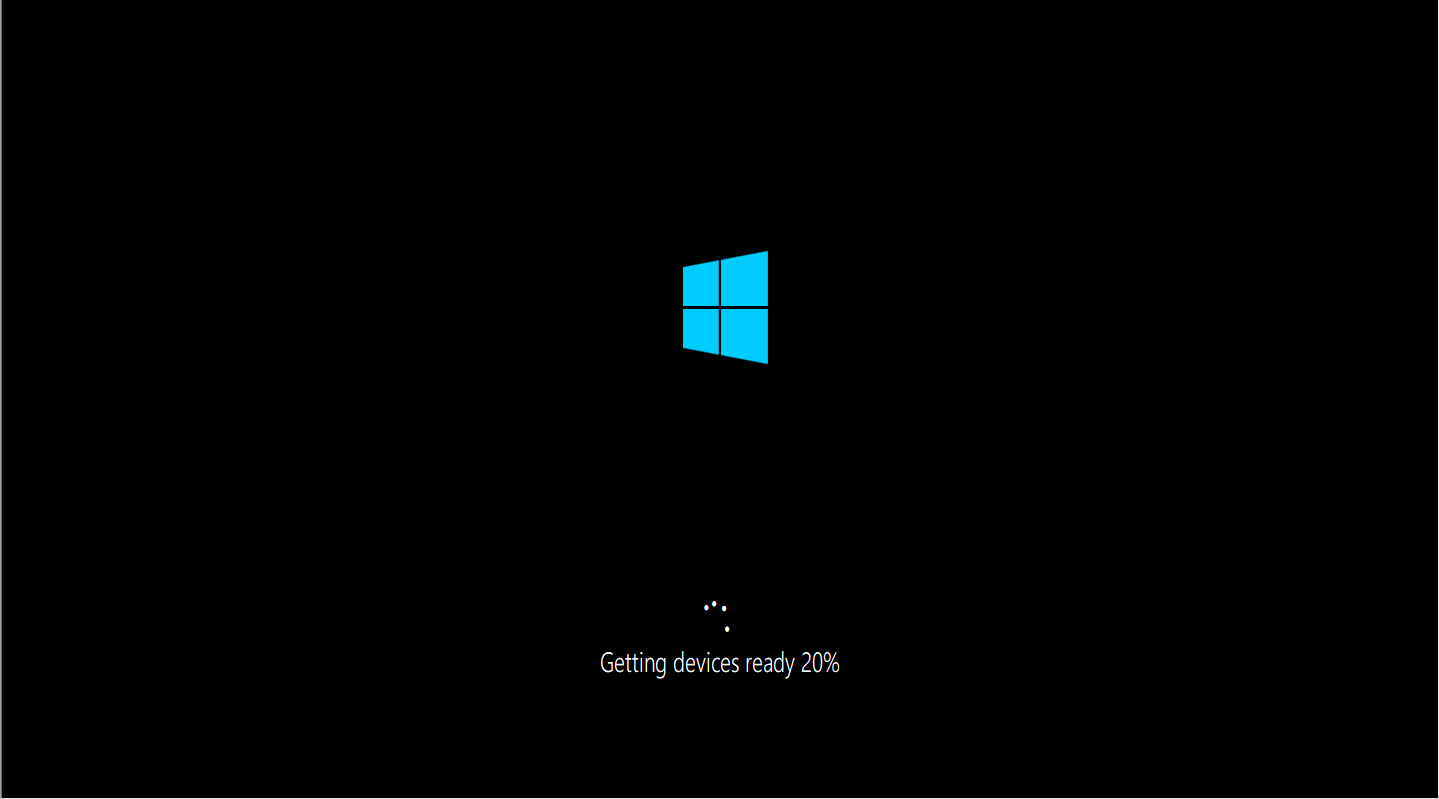
When you see a black screen with Windows 10 icon appearing in the center when you see a black screen (saying “Getting devices ready”) with Windows 10 icon appearing in the center of the screen, you will need to do multiple selections to set up your Windows 10.
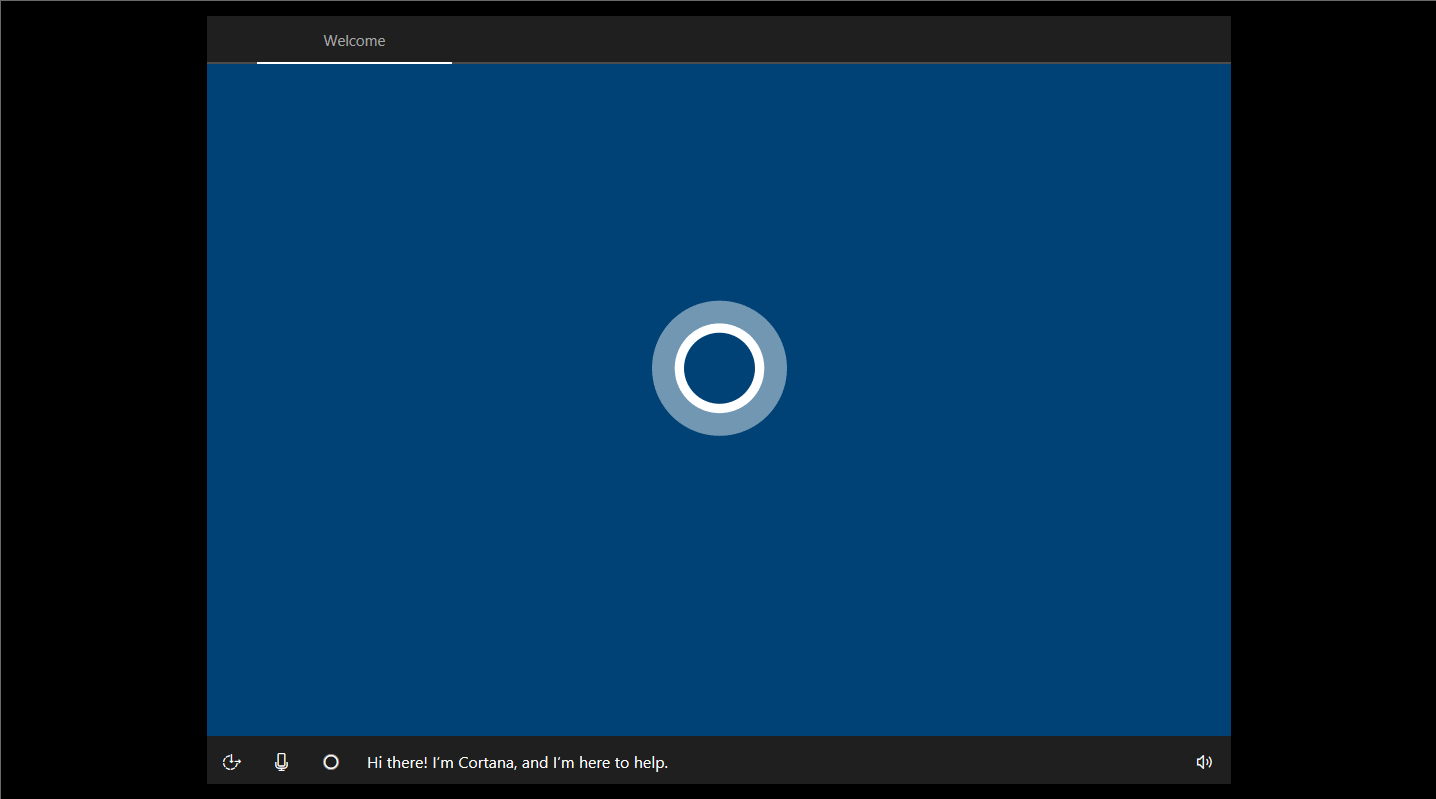
First of all, you will see the Welcome screen of Cortana. In this tab, you only need to go with the flow so as to continue with the next setup.
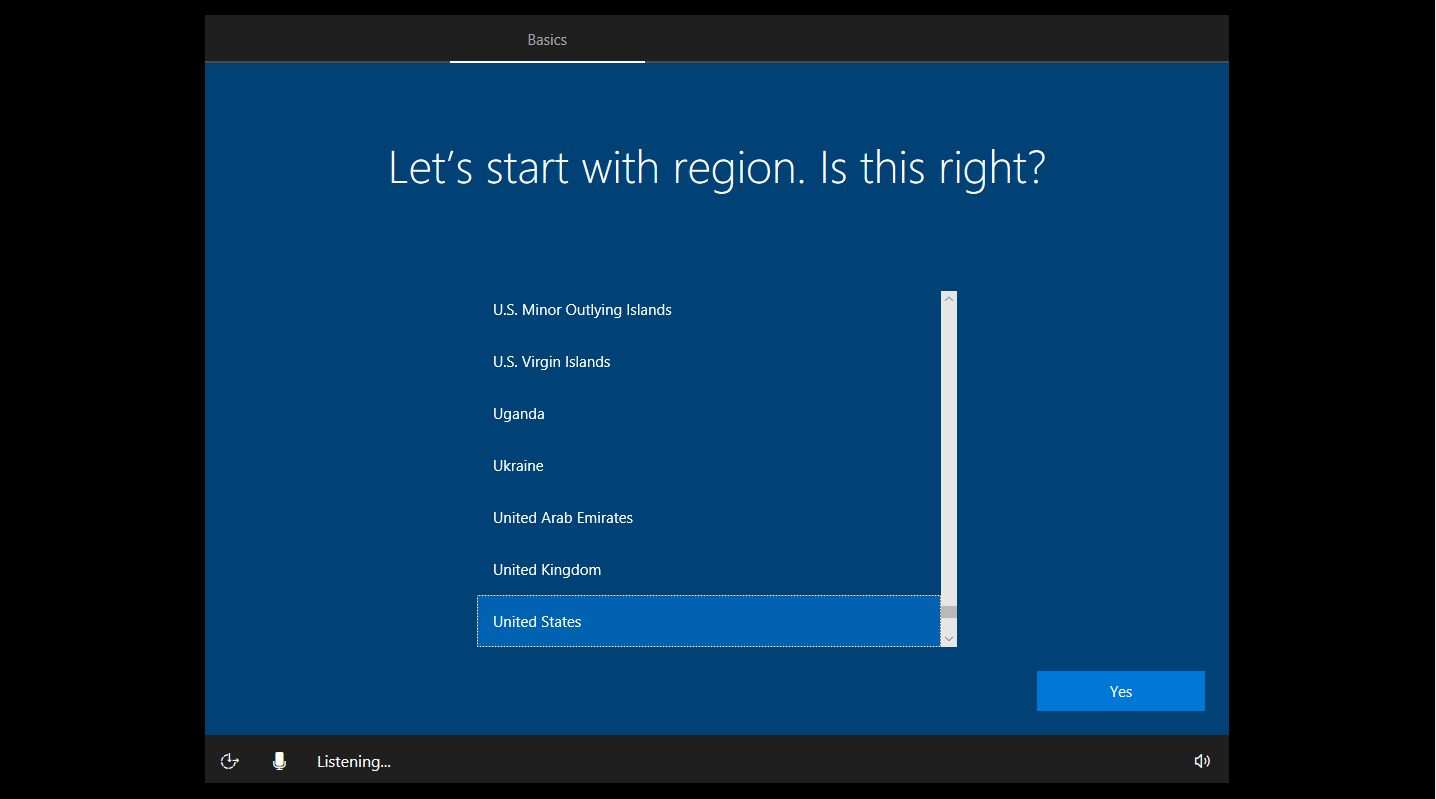
Then comes the Basic. In this tab, you should confirm or your region selection or you can change it as you would want.
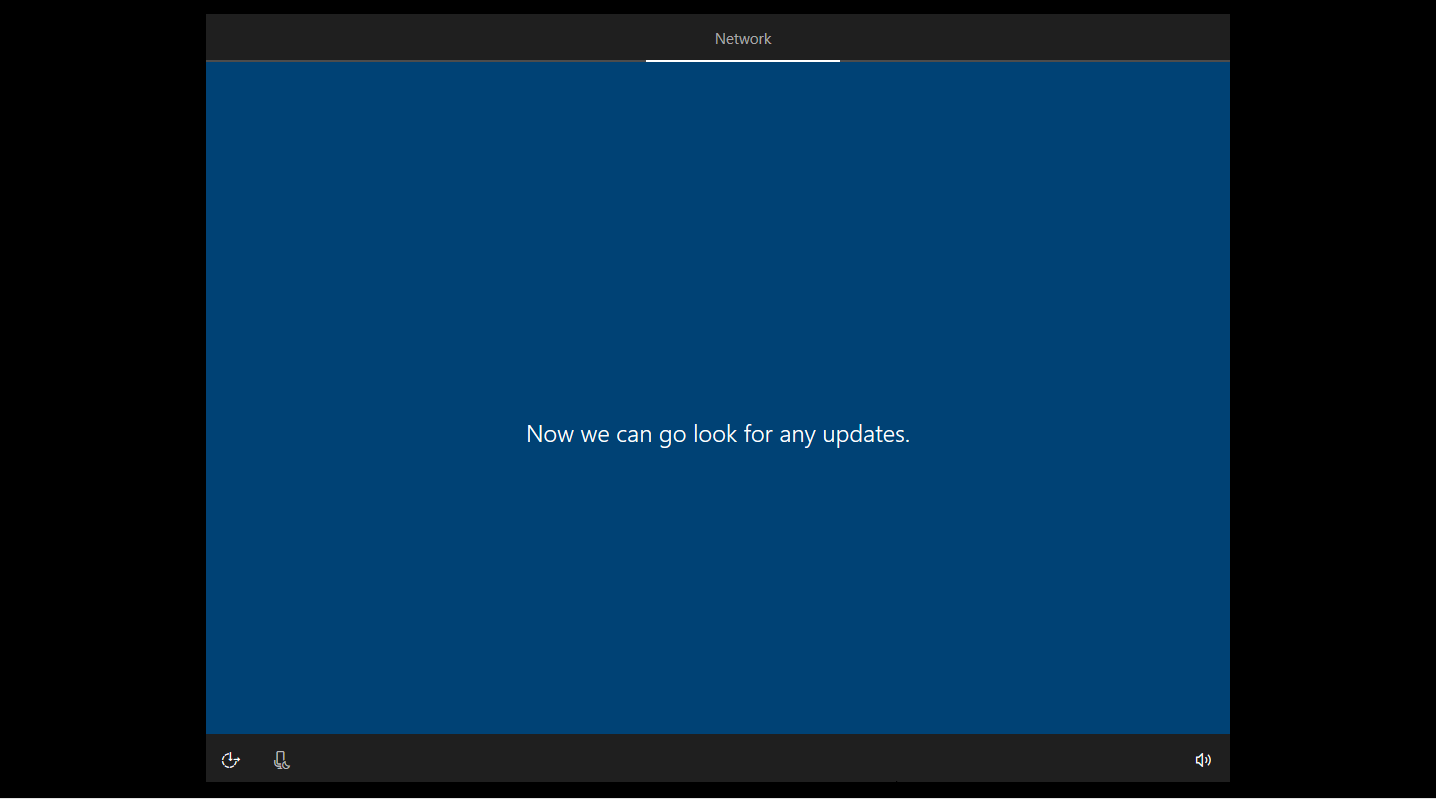
When you reach to Network, you can continue setting up your network preference and let the installation file to check for any updates. Also, you can skip this part if no network is available at this stage.
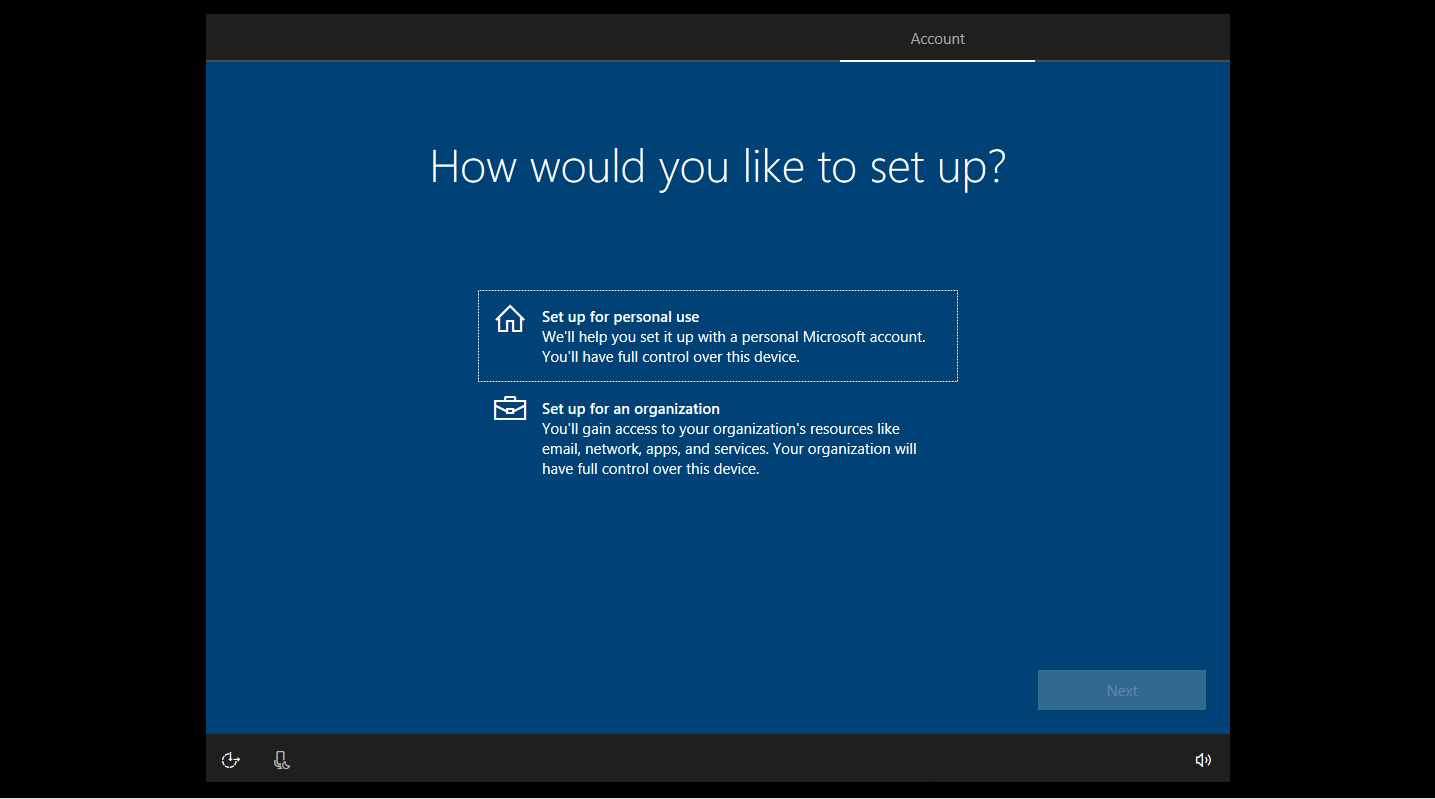
Then you come to the Account settings where you can determine who and how to use this computer. In this tab, a user name is necessary but to set up a password is optional.
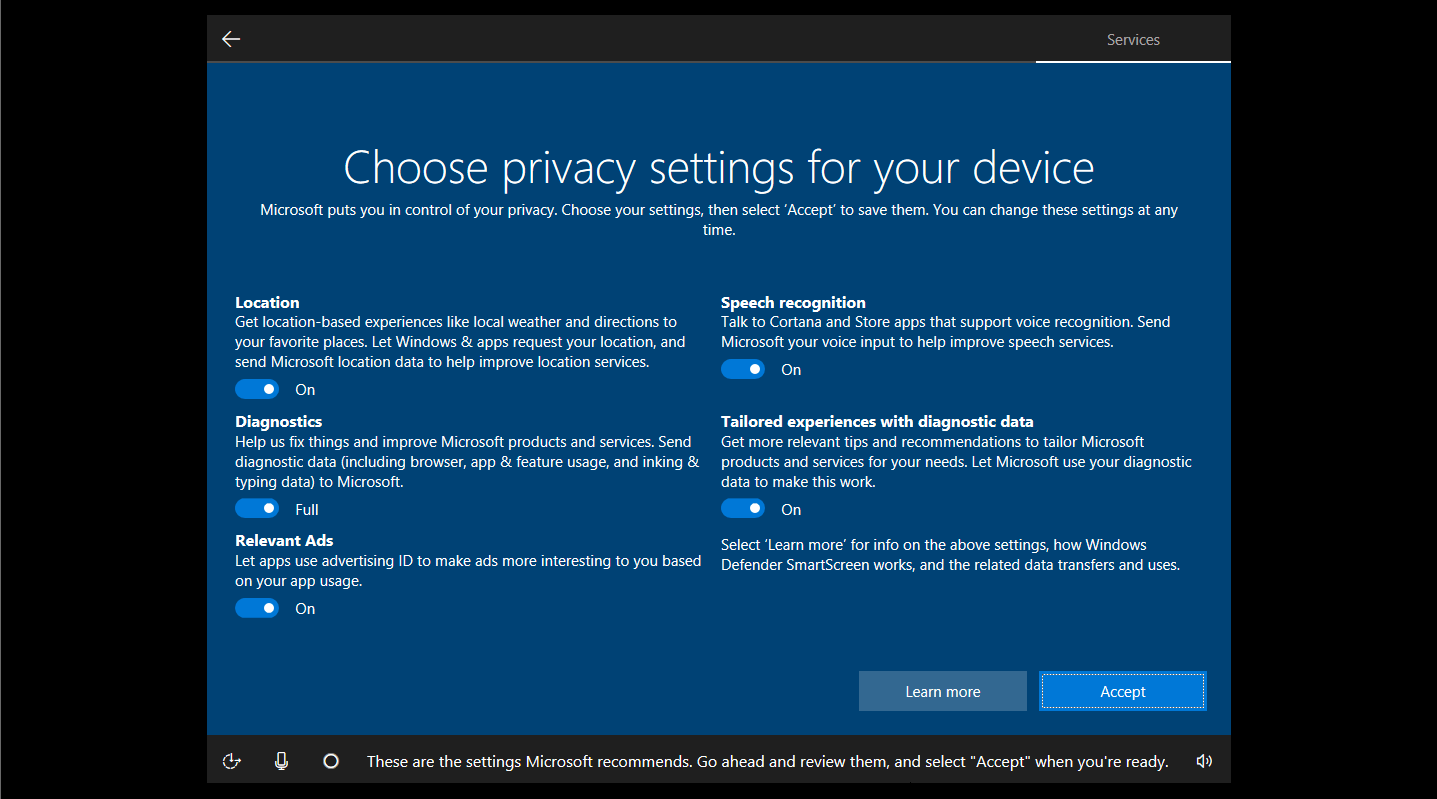
The last tab is related to Services you have to accept. Just do as you are required.
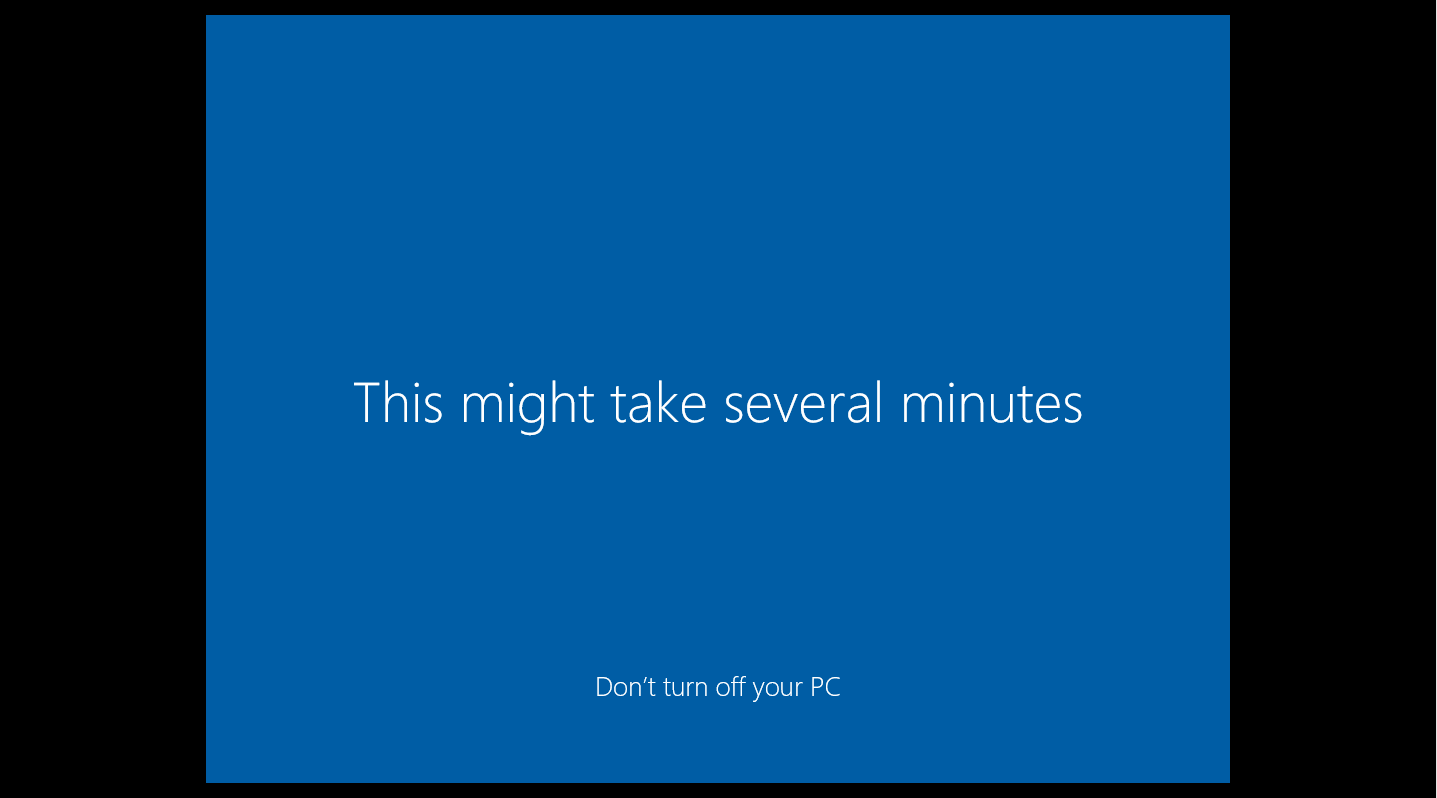
When you see the black screen (which reads “Hi, we are getting everything ready for you”) again, you are almost there.

Windows Setup will make the final configuration. This will take you another several minutes. Remember do not turn off your computer.
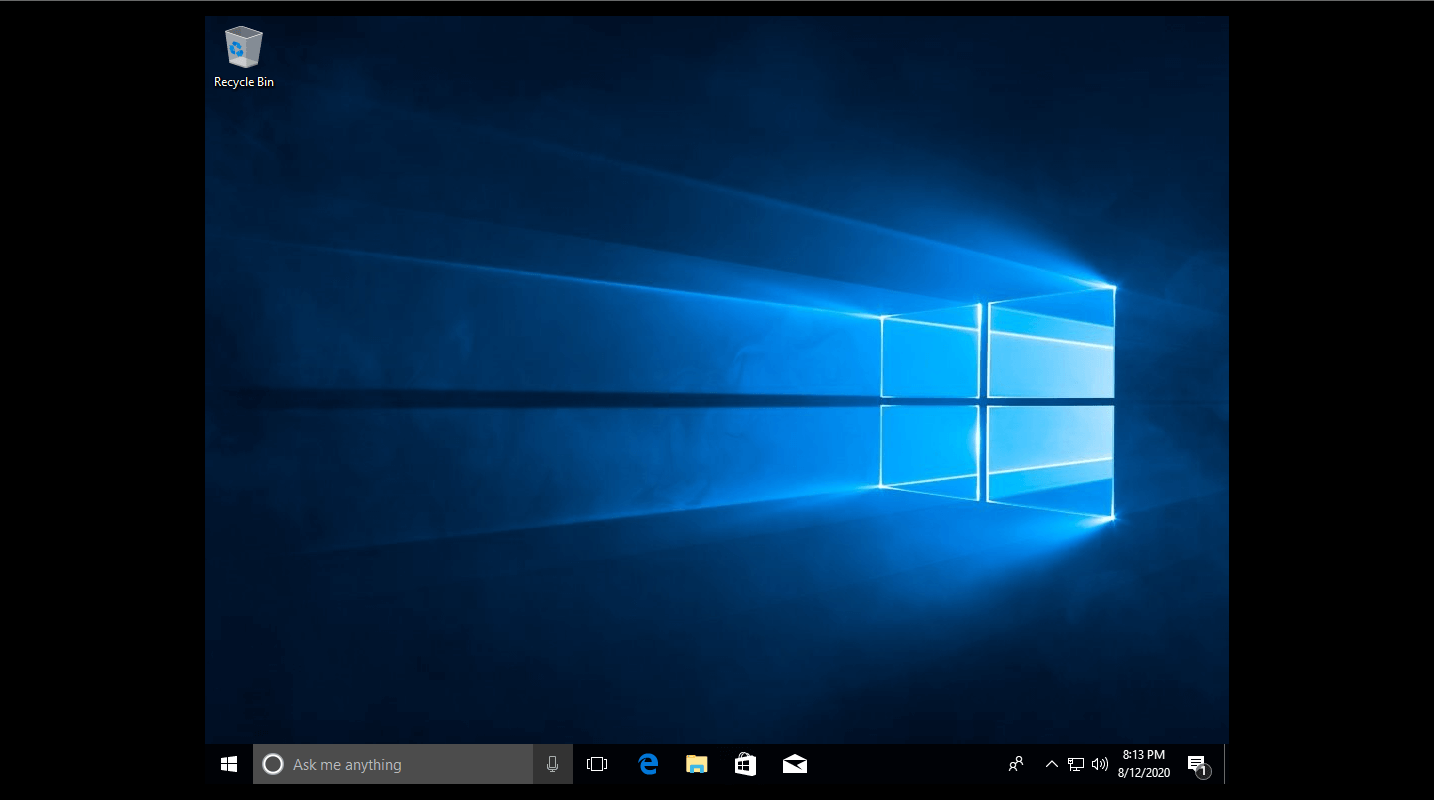
After a while, you will see Windows 10 desktop, which indicates you have gone through all the steps of Windows 10 installation. Now you can customize your Windows 10, install indispensable applications on it and transfer necessary files to the new operating system.


 Windows 11
 Windows 10
 Windows 8
 Windows 7
 Windows XP
 Microsoft 365
 Office 2021
 Office 2019
 Office 2013
 Project 2021
 Project 2019
 Project 2016
 Visio 2021
 Visio 2019
 Visio 2016
 Server


 CAD & 3D, 2D